Does your shower suddenly lack the efficiency it once had, or are unexpected drips causing a rise in your water bill? Replacing the shower valve stems might be the key to revitalizing your shower’s performance and preventing further issues. Understanding the significance of these components in maintaining optimal water flow can save you time and resources in the long run.
- Recognize crucial signs of wear or damage in shower valve stems that can lead to leaks and inefficient water control.
- Learn which essential tools and materials will streamline the replacement process, ensuring a smooth operation.
- Follow a detailed step-by-step guide to expertly replace your shower valve stems, restoring your shower’s functionality with ease.
Embark on this DIY journey to not only understand but also master the process of replacing shower valve stems, boosting your confidence in handling plumbing challenges and enhancing your home’s maintenance routine.
Recognizing the Need for Replacing Shower Valve Stems
A well-functioning shower is essential for any home, and the valve stem plays a crucial role in maintaining optimal water flow and control. Over time, these components can wear out, leading to common problems such as leaks or inefficient water distribution. By understanding the signs of wear and damage, you can address issues before they escalate.
One of the primary indicators that you may need to replace your shower valve stem is a persistent leak. If you notice water dripping even when your shower is turned off, it’s a clear signal that your valve stem may be compromised. Ineffective water temperature control is another symptom, where you struggle to achieve the desired water temperature despite adjustments.
Difficulty in turning the shower handle can also suggest worn-out stems. This issue often results from corrosion or mineral build-up over time, affecting the stem’s ability to function properly. If you experience any of these issues, consider taking action early to maintain your shower’s performance and avoid more significant plumbing problems down the line.
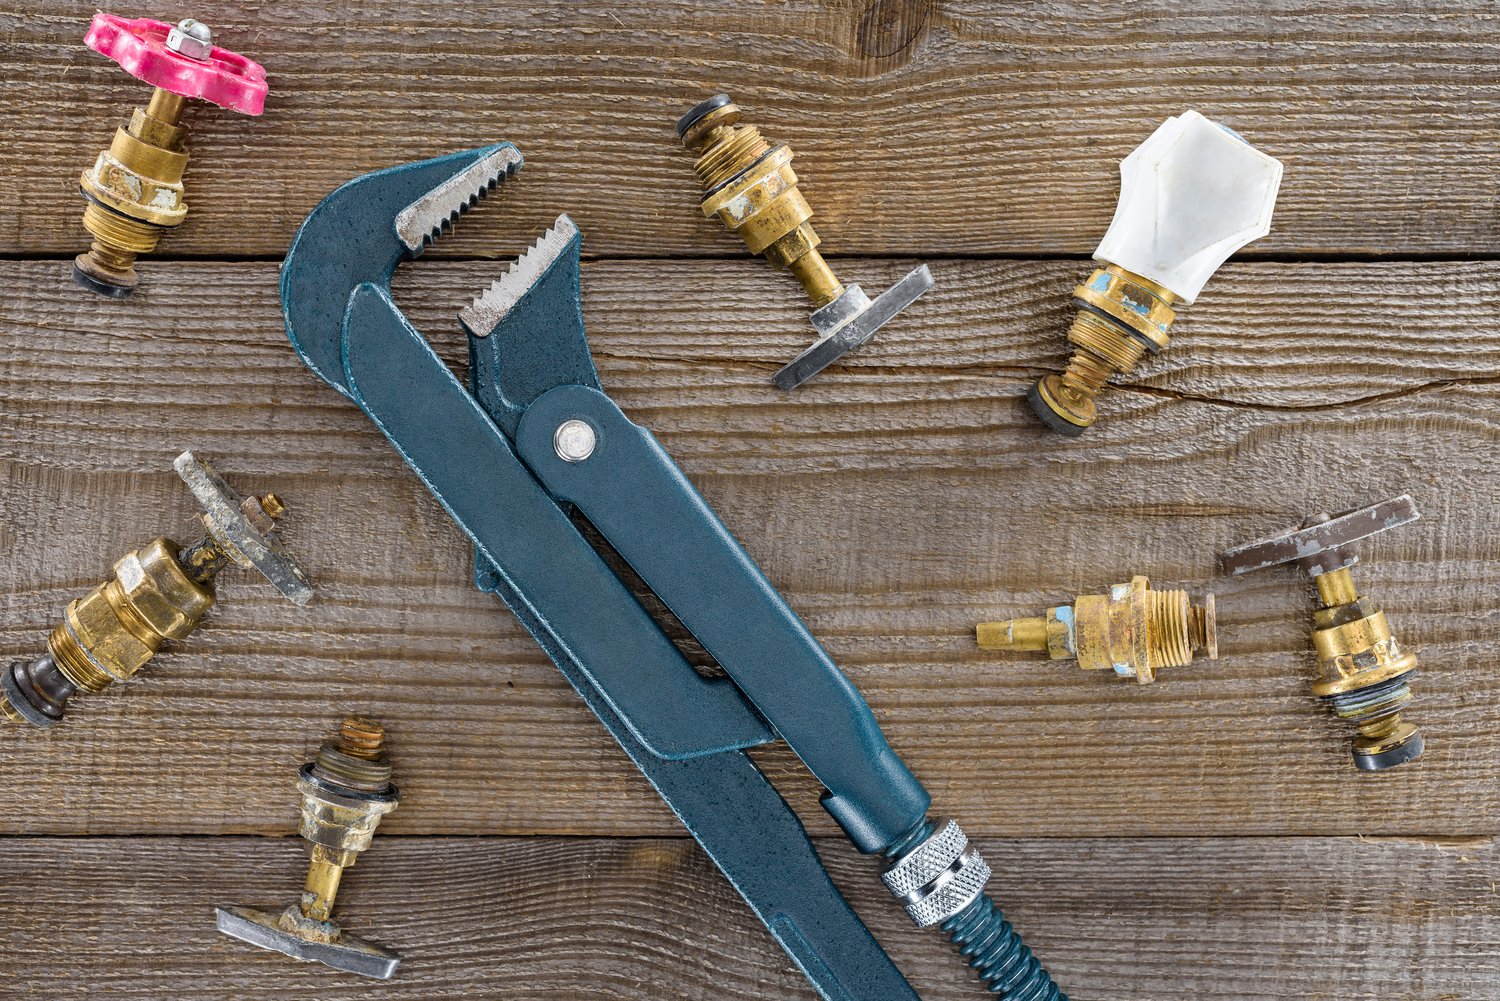
Tools and Materials Required for the Replacement Process
Before embarking on the task of replacing shower valve stems, gathering the correct tools and materials is crucial for a seamless process. Having the right equipment at your disposal not only simplifies the task but also ensures that you complete the repair efficiently without additional runs to the hardware store.
Key tools typically include an adjustable wrench for loosening nuts and bolts and a screwdriver set for removing screws that secure the shower trim and handle. It’s also advisable to have a valve socket wrench on hand, specifically designed to easily remove and install valve stems.
Moreover, materials like plumber’s tape are essential to ensure new installations are leak-proof. It’s useful to have replacement shower valve stems compatible with your specific shower model—check product numbers or consult with a store professional if needed. By being well-equipped, you prepare yourself for a straightforward and effective repair process, which ultimately extends the lifespan of your shower system.
Step-by-Step Guide to Replacing Shower Valve Stems
Replacing shower valve stems is a crucial skill for maintaining your bathroom’s plumbing system. When the water flow becomes inconsistent, or you notice persistent leaks, it’s likely time to replace these components. Follow this detailed guide to ensure a smooth replacement process, improving both efficiency and longevity of your shower system.
Step 1: Shut Off the Water Supply
Begin by turning off the water supply to your bathroom. This step prevents any accidental flooding or excessive water leakage during the repair process. Locate the main water valve and turn it off completely before proceeding.
Step 2: Remove the Shower Handle and Trim
Gently detach the shower handle by removing the screws holding it in place. Be careful to keep all screws and small components in a safe place to ensure easy reassembly. Once the handle is off, remove the trim plate to expose the valve stems.
Step 3: Extract the Old Valve Stem
Use a wrench or pliers to carefully unscrew and remove the old valve stem. There might be resistance if the stem has been in place for a long period, so take your time to avoid causing damage. Inspect the old stem for wear or rust, which can confirm the need for replacement.
Step 4: Install the New Valve Stem
Take the new valve stem and align it with the opening. Screw it into place securely, ensuring a tight fit. This step is critical in preventing future leaks, so make sure the stem is installed properly and without force.
Step 5: Reattach the Shower Handle and Trim
Once the new valve stem is in position, replace the trim plate and reattach the shower handle. Secure all screws tightly to ensure that everything is properly aligned and functional.
Step 6: Turn On the Water Supply and Test
Finally, once everything is reassembled, turn on the water supply. Test the shower for any leaks or irregular water flow. Adjust as necessary before considering the job complete.
By methodically following these steps, you can effectively replace your shower valve stems, ensuring efficient water flow and preventing common plumbing issues in your bathroom. Regular maintenance and timely replacements will help preserve your shower’s performance over time.
Frequently Asked Questions About Replacing Shower Valve Stems
What are the signs of a failing shower valve stem?
Common signs include:
- Leaking water when the shower is off.
- Difficulty in controlling water temperature.
- Unusual noises from the shower.
Do I need professional help to replace a shower valve stem?
Not necessarily. With the right tools and guidance, it is possible to replace the valve stem yourself.
What tools are needed for replacing a shower valve stem?
You will need:
- An adjustable wrench or pliers.
- A screwdriver.
- Plumber’s grease.
- Replacement valve stem.
How long does it take to replace a shower valve stem?
Generally, it takes about 30 minutes to an hour, depending on experience level and old hardware condition.
Can replacing the valve stem fix water pressure issues?
Yes, if the valve stem is the cause of low pressure, replacing it can restore proper water flow.