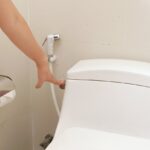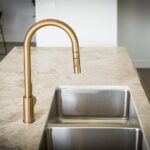
Is your faucet dripping and driving you nuts? Sometimes the answer lies in a small component that wears out more often than you’d think—a faulty faucet cartridge. Instead of calling a plumber, why not master the art of DIY faucet cartridge replacement yourself? Not only does tackling this common plumbing task save you money, but it also boosts your confidence in handling basic home repairs.
- Explore the essentials of faucet cartridge replacement, including why it’s necessary and how DIY approaches can save you time and headaches.
- Discover the list of tools and materials you need to efficiently tackle this task without having to make multiple trips to the hardware store.
- Follow a detailed, step-by-step guide that takes the stress out of the replacement process, making sure you avoid common pitfalls along the way.
By diving into this article, you’ll equip yourself with practical skills and insights applicable beyond just faucet repairs. Prepare to become more self-reliant with every DIY project you conquer, starting with this one.
Understanding the DIY Faucet Cartridge Replacement Process
Replacing a faucet cartridge might seem daunting at first, but understanding the basic concepts can make it a manageable DIY plumbing task. At the heart of this process is the faucet cartridge, a crucial component ensuring smooth water flow and proper functioning of your faucet.
Over time, wear and tear can lead to cartridge issues, such as dripping or leaking, reduced water pressure, or difficulty in adjusting water temperature. Recognizing these signs of cartridge failure is key to maintaining your faucet in good working order.
Opting for a DIY faucet repair can be highly advantageous. Not only does it save you money on professional services, but it also gives you practical experience in handling basic plumbing repairs. By learning to replace the cartridge yourself, you gain valuable skills that enhance your ability to perform regular home maintenance.
Tools and Materials Needed for a DIY Faucet Cartridge Replacement
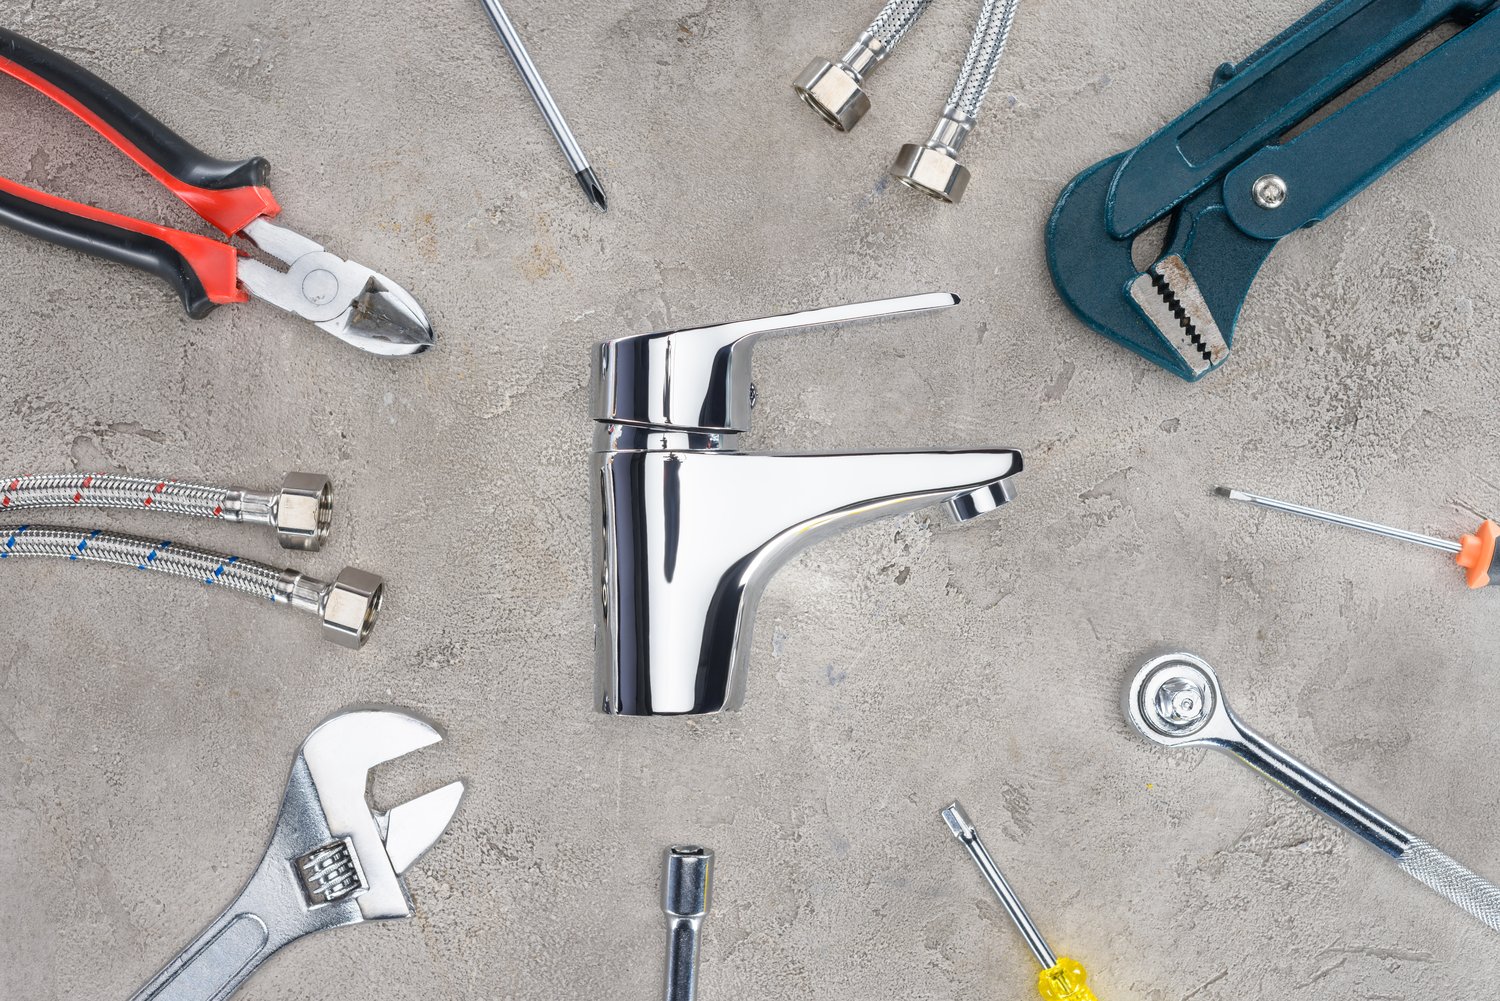
Embarking on a faucet cartridge replacement project requires careful preparation, beginning with gathering the right tools and materials.
Here’s what you’ll need for this essential plumbing task:
- Adjustable Wrench: Essential for loosening and tightening faucet parts without causing damage.
- Screwdriver: A necessary tool for removing screws that hold the faucet components in place.
- Pliers: Useful for gripping and pulling out the old cartridge.
- Replacement Cartridge: Make sure to get the correct model for your faucet for a perfect fit.
- Faucet Grease: Helps lubricate parts during reassembly to ensure smooth operation.
- Towel: Handy for catching water spills during the process, preventing mess and damage.
Ensuring these tools and materials are on hand will not only make the project more efficient but also reduce stress and minimize mistakes. Proper preparation is indeed half the task!
Step-by-Step Guide to DIY Faucet Cartridge Replacement
Embarking on a DIY faucet cartridge replacement project can seem daunting, but with the right approach, it becomes a manageable task, even for beginners. This guide will walk you through each step, ensuring a safe and effective replacement.
Begin by gathering all your tools and materials. It’s essential to have everything you need within reach to prevent interruptions during the process. Once that’s set, start your project by turning off the water supply. This crucial step ensures you avoid any unwanted spills and makes the task less stressful.
Next, close the sink drain to safeguard any small parts from falling into the plumbing. Use a piece of tape or a stopper to cover the drain securely. Following this, remove the faucet handle. Look for the decorative cap or screw that secures it, and gently remove it using a screwdriver or Allen wrench, depending on the handle type. Carefully lift off the handle to reveal the cartridge beneath.
With the handle removed, take a moment to inspect the old faucet cartridge. Take note of its alignment and positioning as this will guide you when installing the new cartridge. Unfasten any retaining clips or screws securing the cartridge in place. Use pliers to carefully extract the cartridge, making sure not to damage the faucet body.
Now, bring out the new faucet cartridge. Compare it with the old one to ensure the correct fit, checking all dimensions and configuration. Insert the new cartridge into the faucet, aligning it properly. If it seems resistant, lightly lubricate the cartridge with plumber’s grease for an easier fit.
Once the new cartridge is in position, reattach any retaining clips or screws that were removed earlier. Check the newly positioned cartridge for any signs of misalignment or looseness.
The next step is to reassemble the faucet handle. Place the handle back over the cartridge and secure it using the previously removed screw or cap. Ensure everything is tightened appropriately to prevent future leaks and handle wobble.
Finally, restore the water supply and carefully test the faucet. Look for smooth operation and absence of leaks, indicating successful installation. If any issues arise, retrace your steps to ensure the cartridge is seated and aligned correctly.
Completing a DIY faucet cartridge replacement not only resolves current faucet issues but also bestows a practical skill for future home maintenance tasks. Enjoy the satisfaction of a job well done and consider sharing your experience to motivate others in their DIY home improvement efforts.
Frequently Asked Questions about DIY Faucet Cartridge Replacement
What is a faucet cartridge?
A faucet cartridge is a valve controlling water flow and temperature in your faucet, ensuring smooth operation and preventing leaks.
How can I tell if my faucet cartridge needs replacement?
Signs include leaking, difficulty in turning the handle, or inconsistent water temperature.
Is replacing a faucet cartridge a DIY-friendly task?
Yes, with the right tools and instructions, most people can replace a faucet cartridge themselves.
What tools are essential for replacing a faucet cartridge?
- Adjustable wrench
- Screwdriver
- Needle-nose pliers
- Replacement cartridge
Do I need to turn off the water supply before starting?
Yes, always turn off the water supply to prevent leaks or flooding while working on your faucet.
How long does it typically take to replace a faucet cartridge?
On average, it takes about 30 minutes to an hour, depending on your experience and the faucet model.
Can I use any cartridge for replacement?
Ensure compatibility by matching the replacement cartridge with the specific brand and model of your faucet.