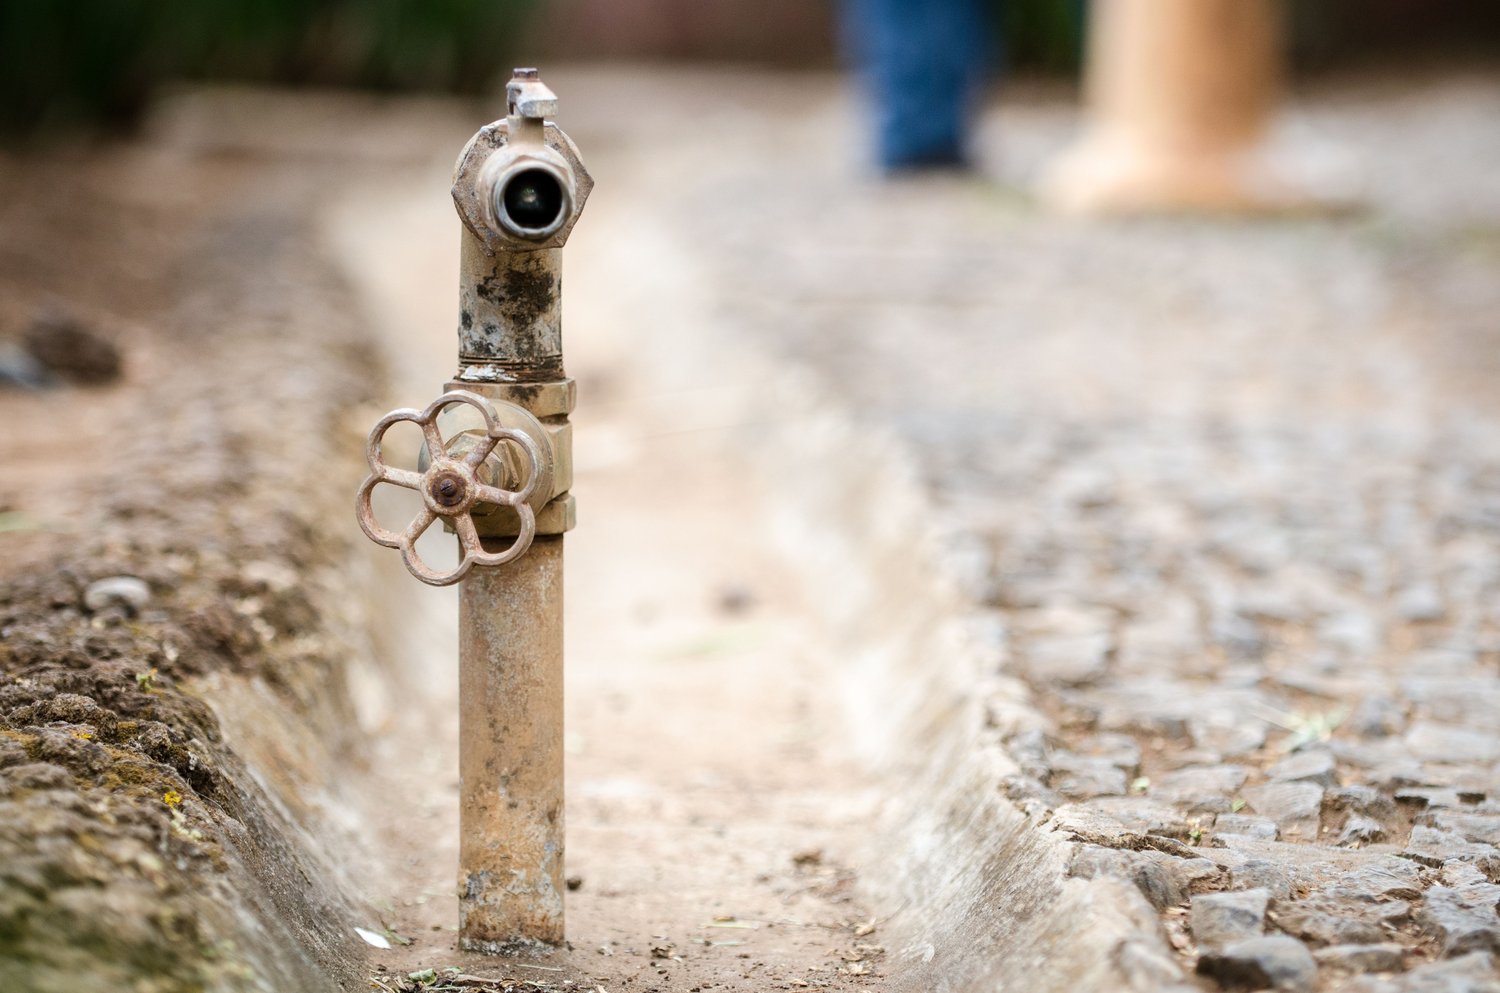
Imagine the constant drip, drip, drip of an outdoor faucet—it’s not just an annoying sound; it’s a silent thief stealing water and escalating your utility bill. Fixing a dripping outdoor faucet isn’t merely about stopping that persistent leak; it’s a proactive step towards water conservation and cost-saving. This guide will arm you with the knowledge and tools to address this common household issue efficiently.
- Uncover the typical culprits behind dripping outdoor faucets, from worn-out washers to loose fittings.
- Prepare yourself with the essential tools and materials needed to tackle and triumph over a leaky faucet.
- Gain confidence with a step-by-step guide to repair your faucet, sparing no detail from start to finish.
- Explore easy, preventative maintenance tricks to ensure your outdoor faucets stay drip-free in the future.
- Recognize the signs that signal when a plumber’s expertise might be the best solution for more stubborn leaks.
This article will not only empower you to fix that drip but also to prevent future occurrences, supporting a sustainable and cost-effective home environment. Dive in to transform a potential headache into a straightforward DIY victory.
Understanding the Causes of Dripping in Outdoor Faucets
Outdoor faucets are prone to dripping due to several common issues that can occur over time. One primary cause is worn washers, which are essential components that create a watertight seal in the faucet. With regular use, these washers can deteriorate, leading to leaks. Another potential issue is loose fittings. These fittings can allow water to seep through spaces that should be tightly sealed.
Damaged seals are also a frequent culprit behind outdoor faucet drips. Seals can become cracked or worn out, especially if they are exposed to harsh weather conditions. Additionally, incorrect installation or components that have reached the end of their lifespan can contribute to dripping issues. Identifying and understanding these causes is the first step towards effectively managing and repairing a leaking outdoor faucet.
Tools and Materials Needed for Fixing Dripping Outdoor Faucets
Before you begin fixing your dripping outdoor faucet, it’s crucial to have the right tools and materials at your disposal. Having these ready will streamline the repair process and ensure that you can efficiently tackle the issue.
The essential tools include an adjustable wrench, a screwdriver set, and plumber’s tape. If your faucet requires new components, you should also prepare replacement washers, seals, or fittings that match your faucet model. Having a bucket on hand might be useful to catch any residual water as you work.
Ensure that all these items are readily available so that you can focus on repairing the leak without unnecessary interruptions. This preparation will enable you to fix the dripping outdoor faucet efficiently and restore it to proper working condition.
Step-by-Step Guide on Fixing Dripping Outdoor Faucets
Addressing a leaking outdoor faucet can be straightforward when following a systematic approach. First, it’s crucial to shut off the water supply to avoid any water wastage during the repair process. Locate the valve that controls the outdoor faucet and turn it clockwise to close.
Next, examine the faucet by removing any attached hose and unscrewing the faucet cap using an adjustable wrench. This exposes the valve stem, where common issues like worn washers or damaged seals can be found. Carefully inspect and replace any worn-out washers with a new washer of the same size to ensure a proper fit.
If the leak persists, the faucet cartridge might be the source of the problem. To replace it, remove the retaining nut and gently pull out the cartridge. Ensure you have the right replacement unit, then slide it into place, securing it with the retaining nut.
After replacing faulty components, reassemble the faucet and turn the water supply back on. Check for any leaks by turning the faucet on and off, while observing if the dripping has ceased. This process should resolve most dripping issues.
Preventative Measures to Avoid Future Drips in Outdoor Faucets
Regular maintenance is key to preventing future leaks in outdoor faucets. One effective practice is to periodically tighten fittings to prevent them from loosening over time. This simple step can prevent leaks before they start.
Another preventative measure is to routinely inspect washers and seals for wear and tear, especially at the change of seasons. Replacing these small components annually can prevent significant issues down the line.
In addition, consider installing a frost-free faucet if your area experiences cold winters. These faucets prevent freezing, expanding water from damaging seals and washers, thereby avoiding leaks.
Lastly, always disconnect hoses and drain any residual water before winter sets in. This practice helps in preventing the buildup of pressure and potential damage within the faucet.
By implementing these preventative measures, you can ensure that your outdoor faucets remain in good condition, reducing the likelihood of drips and conserving water in the long run.
When to Call a Professional for Fixing Dripping Outdoor Faucets
Despite your best efforts in attempting to repair a dripping outdoor faucet, some issues might persist and necessitate professional attention. Recognizing these signs can save you time and potentially prevent further damage.
Persistent Leaks and Water Pressure Issues
If your outdoor faucet continues to leak even after replacing washers and seals, you may be facing more complex plumbing issues. Consistent leaks often indicate deeper problems within the plumbing system, such as pipe corrosion or reduced water pressure, which a professional plumber can address.
Difficulty in Dismantling the Faucet
Sometimes, an outdoor faucet might be too difficult to dismantle due to corrosion or rust buildup over time. If tools like wrenches and pliers can’t disassemble the faucet without risking damage, it’s time to call in an expert who has access to specialized equipment and expertise.
Visible Damage or Wear
Obvious signs of structural damage, such as cracks or heavy rust on the faucet or pipes, require a professional evaluation. Such issues could lead to significant water loss and might even cause damage to the surrounding area if left unchecked.
Sustained Water Pooling Around the Faucet
Water accumulating around the base of the outdoor faucet may indicate a hidden leak within the plumbing network. This situation not only wastes water but can also cause soil erosion and foundation issues if ignored for long. Consulting a plumber will help identify hidden leaks and provide comprehensive solutions.
While DIY solutions work in many cases, knowing when to seek professional help can prevent costly repairs in the future. Have you ever been in a situation where calling a plumber was necessary for your outdoor plumbing needs? Sharing your stories could provide valuable insights for others facing similar challenges.
Frequently Asked Questions about Fixing Dripping Outdoor Faucets
What is the most common reason for a dripping outdoor faucet?
The most common reason is a worn washer or seal within the faucet.
Can I fix a dripping faucet myself?
Yes, with the right tools and instructions, most people can fix a minor drip themselves.
What tools do I need to fix a dripping faucet?
- Adjustable wrench
- Screwdriver
- Plumber’s tape
- Replacement parts
How long does it take to fix a dripping faucet?
It can take anywhere from 30 minutes to an hour, depending on the severity of the issue.
What should I do if the faucet still drips after a DIY fix?
It may be time to call a professional plumber to assess the problem.
How can I prevent my outdoor faucet from dripping in the future?
Regular maintenance and checking seals and washers periodically can prevent future drips.
When should I consider replacing the entire faucet?
Consider replacement if the faucet has multiple leaks or is significantly corroded.