Imagine transforming the comfort of your bathroom with a simple addition that elevates hygiene to a new level. Installing a bidet attachment is not just a trend; it’s a game-changer in personal care routines. In this article, you’ll discover how easy it can be to integrate this modern convenience into your home, saving money on professional installation and enhancing your everyday experience.
- Gain an understanding of bidet attachments and their functional benefits, guiding you in selecting the perfect model for your needs.
- Learn about the essential tools and equipment required to streamline your installation process.
- Follow a comprehensive step-by-step guide that ensures an efficient and professional-grade installation of your bidet attachment.
- Find solutions for common installation issues, empowering you to troubleshoot effectively and enjoy a hassle-free experience.
With this guide, you’ll not only upgrade your bathroom but also gain confidence in tackling basic home installations. Explore the steps, gather insights, and embark on a journey to improve both your lifestyle and home efficiency.
Understanding the Basics of Installing a Bidet Attachment
Before diving into the installation process, it’s important to have a clear understanding of what a bidet attachment is and how it functions. A bidet attachment is a device that connects to your existing toilet, offering an affordable and convenient way to enhance bathroom hygiene without the need for a standalone bidet.
These attachments typically integrate seamlessly with your toilet seat, providing an easy-to-use solution for personal cleanliness. Most models offer adjustable water pressure and bidet nozzles, allowing users to customize their experience according to their preferences.
Understanding the basic components and operation of a bidet attachment will help you choose the right model for your bathroom needs. Consider factors such as the size of your toilet, the available water pressure, and additional features like warm water options and self-cleaning nozzles.
Conducting a bit of research on these aspects will ensure that you select a bidet attachment that not only fits your lifestyle but also integrates smoothly with your existing bathroom setup.
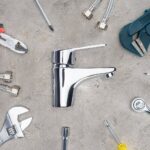
Tools and Equipment Needed for Installation
Successfully installing a bidet attachment requires some essential tools and materials. Having the right equipment on hand will make the process straightforward and hassle-free.
You’ll typically need a standard wrench for tightening and loosening bolts. This helps attach the bidet securely without risking leaks. A screwdriver can be necessary to remove and reattach the toilet seat, depending on your toilet model.
Additionally, acquiring a few specific adapters can be necessary for connecting the bidet to the water supply. Many models come with a T-valve adapter, but it’s wise to verify compatibility with your existing plumbing fittings ahead of time.
A Teflon tape roll is another handy tool to have, as it aids in sealing the connections effectively. This prevents unwanted water leaks and ensures a snug fit. With these tools in your arsenal, you’ll be well on your way to enjoying the benefits a bidet attachment brings to your home.
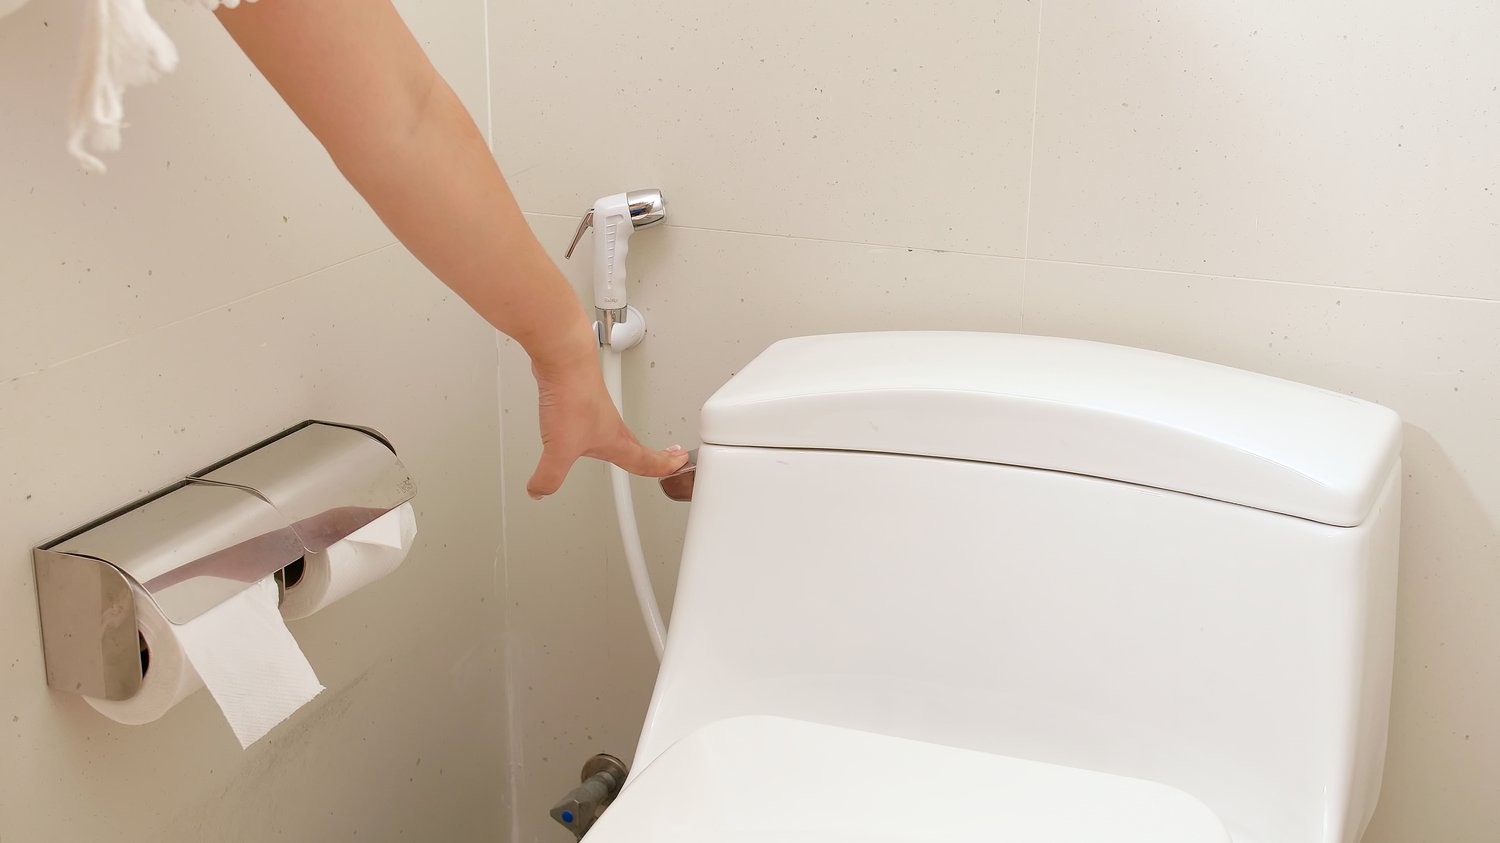
Step-by-Step Guide to Installing a Bidet Attachment
Installing a bidet attachment can enhance your bathroom experience by introducing improved hygiene and comfort. Follow these detailed instructions to ensure a successful installation:
1. Prepare Your Toilet
Begin by removing your toilet seat. This is usually done by unscrewing the bolts located at the back of the seat. Once removed, clean the area to ensure the bidet attachment will have a clean surface to rest on.
2. Position and Secure the Bidet Attachment
Align the bidet attachment with the seat’s mounting holes. Place it flat and centered before reattaching the toilet seat over it. Make sure everything is aligned to avoid any imbalances.
3. Connect the Water Supply
Turn off the water supply by turning the valve clockwise. Disconnect the flexible hose from the toilet tank and attach the T-adapter that comes with most bidet attachment kits.
Connect one end of the flexible hose to the T-adapter and the other end to your bidet attachment. Finally, turn the water valve back on and check for any leaks.
4. Test the Bidet Attachment
Once everything is secure, test your bidet attachment by operating the controls. Ensure the water spray is functioning correctly and adjust the settings to suit your preferences.
Troubleshooting Common Installation Issues
Even with careful preparation, you might encounter challenges during installation. Here are some common problems and their solutions:
Leaking Connections
If water leaks occur at the connection points, ensure all fittings are tightened securely. If leaks persist, wrap the threads with plumber’s tape to create a watertight seal.
Improper Fit
If the bidet attachment doesn’t fit properly under your toilet seat, check if the attachment and seat are aligned correctly. You might need to adjust the position or angle for a perfect fit.
Water Flow Issues
Should you experience issues with water flow, ensure the water supply valve is fully opened. Check the hoses for any kinks that might obstruct water flow.
Installing a bidet attachment may seem daunting at first, but by following these steps and troubleshooting tips, you can enjoy a more comfortable and hygienic bathroom routine.
Frequently Asked Questions About Installing a Bidet Attachment
Can I install a bidet attachment on any toilet?
Most bidet attachments are designed for standard two-piece toilets. Check compatibility with one-piece toilets before purchasing.
Do I need a plumber to install a bidet attachment?
No, most installations can be done by following step-by-step instructions with basic tools.
What tools are necessary for installation?
You’ll need a wrench, screwdriver, and sometimes a plumber’s tape for securing fittings.
How long does the installation take?
Approximately 30 minutes, depending on your experience and the complexity of your setup.
Will installing a bidet attachment damage my toilet?
Proper installation should not cause any damage. Ensure tight connections to avoid leaks.
What should I do if there’s a leak after installation?
Check all connections and tighten them as needed. Use plumber’s tape on threaded parts if necessary.
Is a plumber’s tape always required?
Not always, but it can help prevent leaks by providing a secure seal on threaded connections.
How do I clean the bidet attachment?
Most attachments can be cleaned with mild soap and water. Avoid chemical cleaners that may damage the components.