Ensuring the electrical safety of your home is more than just a necessary task—it’s a form of empowerment. Replacing a faulty circuit breaker is a key skill that not only keeps your living space safe but also enhances your capability to manage home repairs independently. Are you ready to dive into this hands-on project that can make your home safer and prepare you for future challenges?
- Understand the essential components of an electrical panel and why familiarity matters before attempting a replacement.
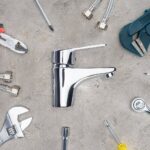
- Discover the crucial tools and safety gear needed to replace a circuit breaker effectively.
- Follow a comprehensive, step-by-step guide that makes replacing your circuit breaker straightforward and manageable.
This article equips you with the knowledge and confidence you need to tackle this electrical task. Gain insights not just into the process but also into maintaining a proactive approach to home safety. Your path to becoming more self-reliant in home maintenance begins with mastering such skills.
Understanding Electrical Panels: Prepping for How to Replace a Circuit Breaker
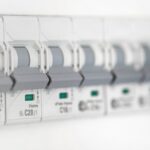
Before you embark on replacing a circuit breaker, it’s essential to familiarize yourself with the various components of an electrical panel. Understanding these elements not only ensures your safety but also enhances your ability to manage home electrical repairs effectively.
An electrical panel, often referred to as a breaker box or fuse box, is the central hub for your home’s electrical circuitry. Within the panel, you’ll find circuit breakers that control the electrical flow to different sections of your home. Each breaker is a safety device designed to trip when it detects an electrical overload, thereby preventing potential hazards.
Knowing the layout and function of each component is crucial. The main breaker, usually located at the top or bottom, shuts off all electricity flowing into the panel. Individual breakers manage power to specific circuits, marked clearly on the panel for easy identification. Moreover, you’ll encounter neutral and grounding bars that are critical for maintaining electrical safety.
Recognizing the role of these components aids not only in replacing a faulty circuit breaker but also in conducting routine maintenance checks. This knowledge empowers you to troubleshoot issues efficiently, guaranteeing your household’s electrical safety and boosting your DIY skills.
Essential Tools for Replacing a Circuit Breaker
Equipping yourself with the right tools and protective gear is fundamental when undertaking the replacement of a circuit breaker. Having these tools handy ensures a smooth and safe electrical repair process.
Firstly, a voltage tester is indispensable. It helps you verify that the electricity is off, safeguarding you from any accidental shocks. An insulated screwdriver set is crucial for loosening and tightening the screws without risk, as these tools are designed to handle electrical applications safely.
Wire cutters and strippers are essential for managing any wiring adjustments that might be needed. Additionally, having a flashlight can be particularly useful in dimly lit areas, ensuring you have full visibility while working inside the panel.
Personal protective equipment should not be overlooked. Prioritize wearing rubber-soled shoes and safety goggles to shield yourself from any unforeseen incidents. Gloves with electrical insulation capabilities are also recommended for added safety.
With these tools and safety gear at your disposal, you are well-prepared to replace a circuit breaker effectively, ensuring your electrical system is both functional and secure.
How to Replace a Circuit Breaker: A Step-by-Step Guide
Replacing a circuit breaker can seem daunting, but with careful attention to detail and safety, it is a manageable task. Follow these steps to ensure a successful and secure replacement process. Knowing how to remove and install a circuit breaker is vital for maintaining your home’s electrical safety.
Step 1: Turn Off the Main Power
Safety first. Locate your home’s main electrical panel and switch off the main breaker to cut power completely. This precautionary step ensures that you eliminate the risk of electric shock during the replacement procedure.
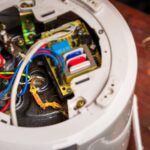
Step 2: Identify the Faulty Circuit Breaker
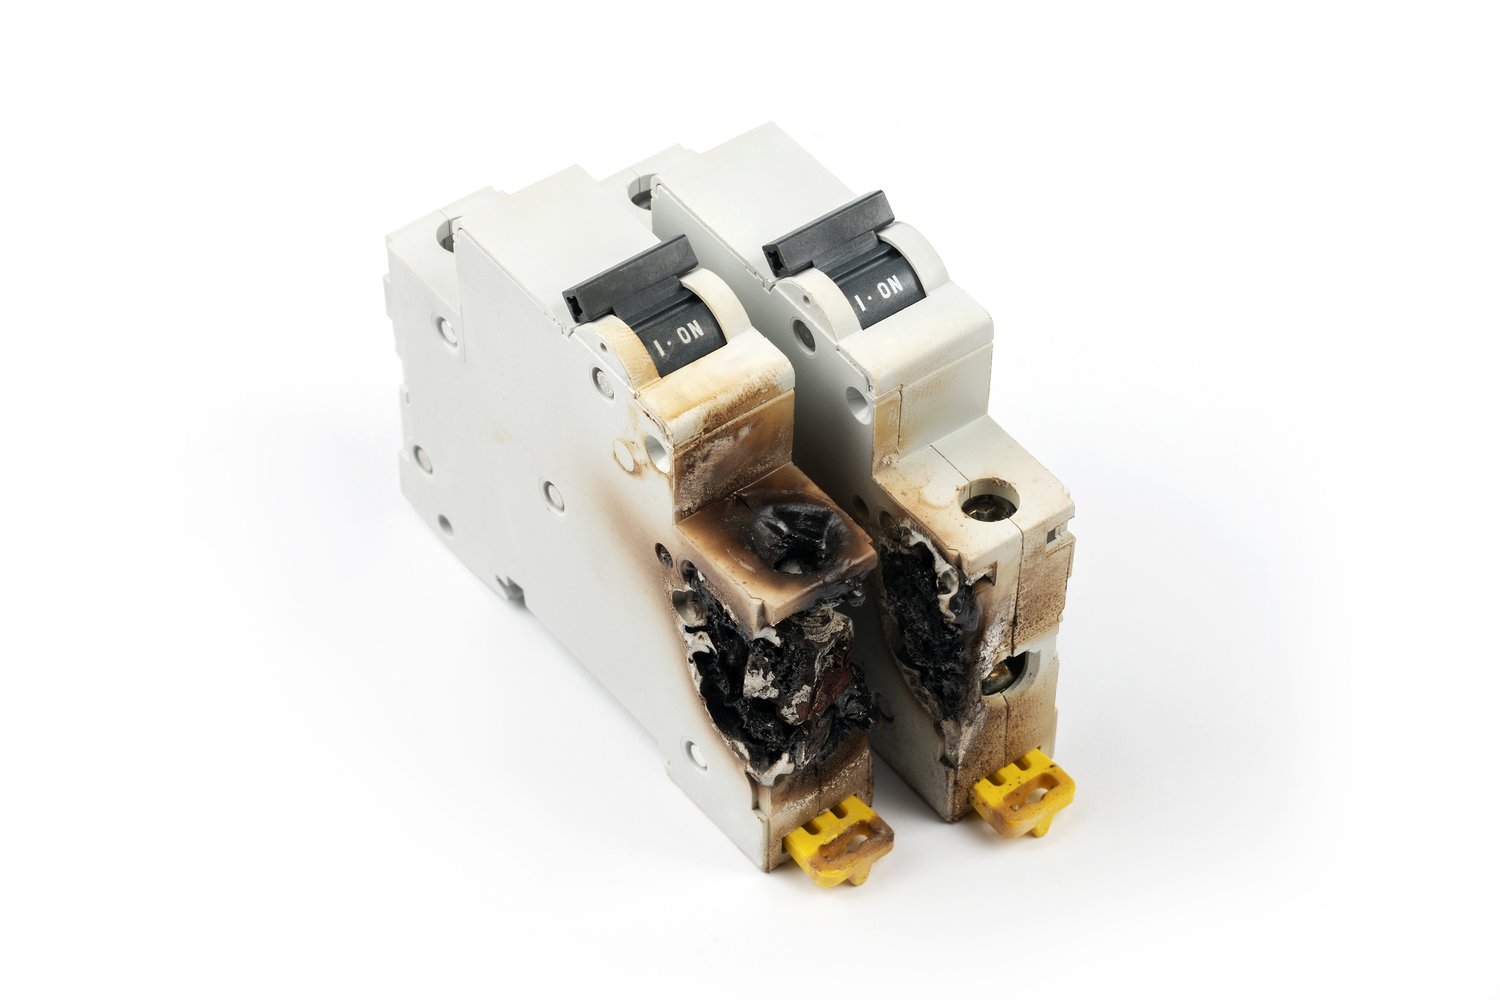
Next, identify the breaker that requires replacement. Faulty breakers often show signs of wear such as visible damage or failure to reset. Carefully confirm that the breaker is indeed the problematic one by inspecting any labels and examining the wiring connected to it.
Step 3: Remove the Panel Cover
Unscrew the electrical panel cover with a screwdriver, revealing the circuit breakers inside. Exercise caution during this step to avoid disturbing any of the wiring. Keeping the work area organized can also prevent potential issues.
Step 4: Disconnect the Wiring
Now, disconnect the wire from the faulty breaker using an insulated tool, typically a screwdriver. This step might require carefully releasing any screws or clips securing the wire in place. Take note of the wire’s configuration, as it will need to be replicated when installing the new breaker.
Step 5: Remove the Faulty Circuit Breaker
Gently lift the faulty breaker out of its position. Breakers usually snap in and out of place with a lever mechanism. If resistance is felt, consult an electrician to ensure no underlying issue presents a safety risk.
Step 6: Install the New Circuit Breaker
Position the new breaker in the same slot, ensuring a secure fit. Connection should be solid to maintain a safe operation. A snug fit indicates that the breaker has been correctly installed.
Step 7: Reconnect the Wiring
Carefully reattach the wire to the new breaker, following the original configuration. Tighten all screws to ensure a secure connection. Double-check the wiring for any loose contacts that might cause malfunctions.
Step 8: Replace the Panel Cover
Secure the panel cover back in place, ensuring that all screws are tightened correctly. An intact cover is essential to protect against dust and accidental contact with live components.
Step 9: Restore the Power
Switch the main breaker back on to restore power. Test the new circuit breaker by toggling it to ensure proper functionality. If any problems arise, consider consulting a professional electrician to evaluate the situation.
By following these steps, you can confidently replace a circuit breaker, thus ensuring the safety and functionality of your electrical system. These skills not only protect your home, but also empower you to handle basic electrical issues with greater confidence.
Frequently Asked Questions: Replacing a Circuit Breaker
What is a circuit breaker and its purpose?
A circuit breaker is a safety device in the electrical panel designed to prevent overloads and short circuits by interrupting the flow of electricity.
How can I identify a faulty circuit breaker?
- Frequent tripping
- Visible damage or burn marks
- No power to the circuit
What tools are necessary for replacing a circuit breaker?
- Insulated screwdriver
- Voltage tester
- Replacement circuit breaker
- Safety gloves
- Flashlight
Is it safe to replace a circuit breaker myself?
Safety should always be the priority. If you are unsure or inexperienced, hire a professional. Always turn off the main power before attempting any work.
How do I choose the right replacement circuit breaker?
Match the existing breaker’s amperage and type. It is crucial as incorrect replacement can cause electrical fires.