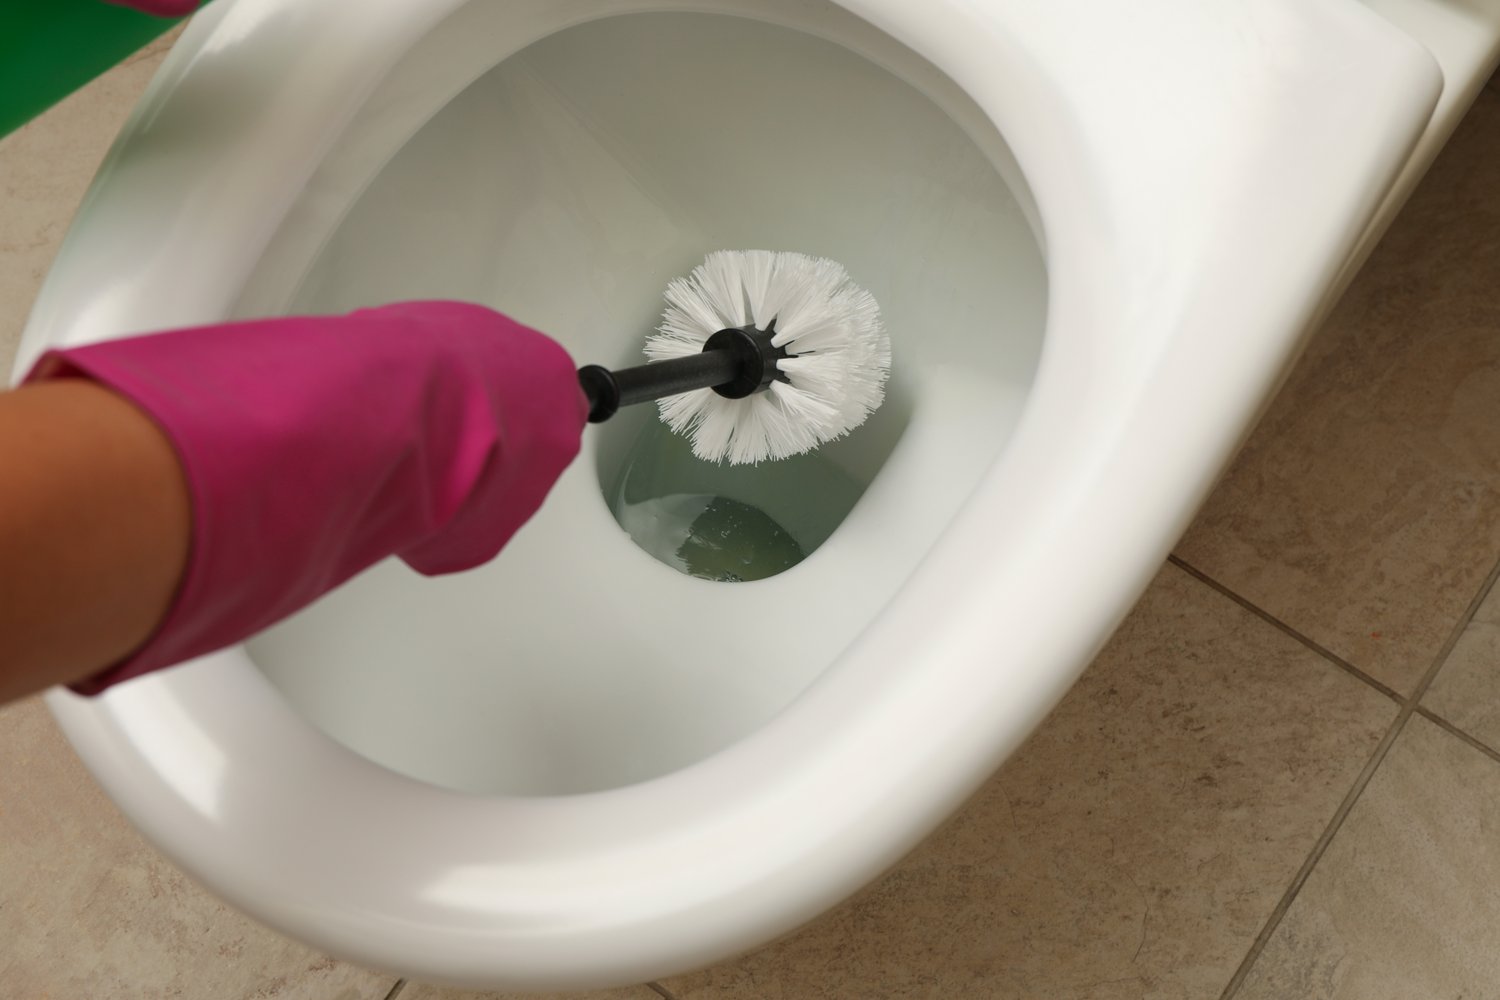
Water leaking from your toilet is not just a minor inconvenience—it can significantly impact your water bill and the environment. Replacing a faulty toilet flapper valve is a simple yet highly effective task that can lead to substantial savings and enhanced toilet efficiency. Dive into this guide to master the art of DIY plumbing and ensure your toilet operates flawlessly.
- Understand the crucial role of a toilet flapper valve in maintaining water efficiency and preventing wastage.
- Identify the tools and materials you’ll need, including insights into selecting the appropriate flapper for your toilet model.
- Follow a step-by-step guide to confidently undertake the replacement, boosting your DIY skills and home maintenance knowledge.
By tackling this often-overlooked maintenance task, you’ll not only conserve water but also enhance your home’s functionality. Let’s streamline your path to a leak-free bathroom and empower you with the skills to maintain it effectively.
Understanding the Importance of Toilet Flapper Valve Replacement
The toilet flapper valve plays a critical role in your toilet’s overall performance by ensuring a proper seal that prevents water from continuously leaking into the bowl. This not only helps in maintaining the efficient functioning of your toilet but also aids in significant water conservation, reducing your water bill and environmental impact. A faulty flapper valve can lead to constant water running, which can waste gallons of water each day.
Recognizing when your toilet flapper valve needs replacement is vital. Common signs include the toilet running long after flushing, a hissing sound of constant water flow, or a visibly worn or damaged flapper. Addressing these signs promptly can prevent more significant plumbing issues and maintain the efficient operation of your toilet system.
Tools and Materials Needed for Replacement
Before embarking on the task of replacing your toilet flapper valve, it’s essential to gather the right tools and materials. Basic tools include pliers and scissors, while you might also need a sponge or cloth to dry any excess water. When it comes to materials, you’ll require the new flapper valve. It’s crucial to understand the different types of flappers available, such as rubber or silicone, and how to select the correct one matching your toilet model for optimal performance.
Choosing the right flapper is a key part of the process. Ensure you check your toilet brand and model for compatibility. Most hardware stores carry universal flappers that fit a variety of toilets, but checking beforehand can save you time and effort. This careful selection preserves the functionality of your toilet and ensures you achieve a watertight seal, preventing wastage.
Step-by-Step Guide to Toilet Flapper Valve Replacement
Replacing a toilet flapper valve is an essential DIY plumbing task that can save you a significant amount of water and prevent unnecessary leaks. Follow this comprehensive guide to ensure a seamless replacement process and maintain a leak-free toilet system.
Step 1: Turn Off the Water Supply
Before you begin, locate the shut-off valve behind your toilet and turn it clockwise to stop the water flow. This prevents any water from refilling the toilet tank while you work on replacing the flapper valve. Once the water is off, flush the toilet to empty the tank.
Step 2: Remove the Old Flapper
Carefully lift the lid of the toilet tank and set it aside. Identify the flapper at the bottom of the tank, connected to the overflow tube and the flush handle chain. Detach the chain from the flush handle lever, then unhook the flapper from the overflow tube.
Step 3: Clean the Valve Seat
Check the valve seat for any sediment or mineral deposits that might hinder the seal. Use a clean cloth or sponge to gently remove any debris, ensuring that the seat is smooth and ready for the new flapper. A clean valve seat facilitates a tight seal and prevents future leaks.
Step 4: Install the New Flapper
Take your new toilet flapper, ensuring it matches the type and size for your specific toilet model. Attach the flapper ears to the overflow tube hooks. Connect the chain to the flush handle lever, allowing for a bit of slack to ensure proper flushing action.
Step 5: Test the Installation
Turn the toilet’s water supply back on by twisting the shut-off valve counterclockwise. Allow the tank to refill completely. Perform a test flush to ensure the flapper moves freely and seals correctly, preventing any water from leaking into the bowl.
By following these steps, you can successfully replace your toilet’s flapper valve. This simple task not only enhances your DIY plumbing skills but also contributes to maintaining a water-efficient home. If you encounter any issues, remember to double-check all connections and ensure the flapper is seated properly.
Frequently Asked Questions About Toilet Flapper Valve Replacement
What is a toilet flapper valve?
A toilet flapper valve is a rubber seal that controls the release of water from the tank into the toilet bowl during a flush.
How can I tell if my flapper valve needs replacement?
Signs include constant running water, weak flush, or the toilet constantly refilling without use.
What tools are necessary for replacing the flapper valve?
You will need a pair of pliers, a sponge, a towel, and a replacement flapper valve.
Are all toilet flapper valves the same size?
No, flapper valves come in different sizes. Check your toilet model to choose the right fit.
How often should I check the flapper valve?
Inspect every 6 months for wear and tear, and replace as needed to avoid leaks.
Can I replace the flapper valve by myself?
Yes, with a few tools and a basic guide, you can easily replace the flapper valve yourself.
What materials are flapper valves made from?
Most flapper valves are made from rubber or chlorinated rubber to resist harsh water conditions.