Plumbing issues are something every homeowner dreads, but knowing how to handle common problems like replacing a sink P-trap can empower you to take control over your household maintenance. Often overlooked, the P-trap is a crucial component in preventing unwanted smells from invading your home, while ensuring your plumbing system runs efficiently. Dive into this practical guide to learn how you can effortlessly tackle this essential task and keep your home odor-free and in top condition.
- Understand the function of a P-trap and why replacing it might be necessary for your plumbing system.
- Discover the essential tools and materials required to make your P-trap replacement smooth and efficient.
- Follow a step-by-step guide designed to help you confidently replace your sink P-trap without a hitch.
- Equip yourself with solutions to overcome common challenges encountered during the replacement process.
By understanding the intricacies of replacing a sink P-trap, you’ll gain the skills necessary to maintain a clean and efficient plumbing system. Embark on this journey to empower yourself with practical knowledge that ensures the longevity of your home’s plumbing network.
Understanding the Basics of Replacing Sink P-Traps
A P-trap is a crucial component in your home’s plumbing system that plays a vital role in ensuring proper drainage and preventing unpleasant odors from entering your living space. Shaped like a ‘P,’ this curve traps a small amount of water to create a barrier, stopping sewer gases from seeping back into your home.
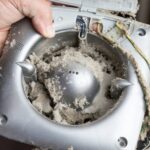
The primary function of a P-trap is to prevent clogs by collecting debris, which can include hair, soap, and other small particles. Over time, these materials can accumulate, causing blockages that require replacement. Regular maintenance and understanding when a replacement is necessary can help maintain the efficiency of your plumbing system.
Replacement might be necessary when you notice persistent clogs, leaks, or unpleasant odors that indicate a problem with the existing trap. Switching out your old P-trap with a new one can restore optimal functionality and prevent further plumbing issues.
Tools and Materials Needed for Replacing Sink P-Traps
Before starting your sink P-trap replacement, gather the essential tools and materials to ensure a smooth and safe process. Having the right items on hand can make the task much more manageable and less time-consuming.
- Adjustable Wrench: Used for loosening and tightening nuts and fittings. Ensure it’s properly adjusted to the size needed for your specific plumbing.
- Pliers: Handy for gripping and twisting pipes, especially if they are tightly secured.
- Bucket: Place it beneath the sink to catch any water or debris that may spill out during the removal process.
- Replacement P-trap: Make sure to purchase a new P-trap that matches your existing plumbing dimensions and material, typically PVC or metal.
- Plumber’s Tape: Useful for ensuring a watertight seal, primarily around threaded pipe joints and connections.
- Rag or Towel: To wipe down any excess water or debris, keeping your workspace clean and dry.
Having these tools and materials ready will streamline the P-trap replacement process, helping you achieve a leak-free and effective installation.
Step-by-Step Guide to Replacing Sink P-Traps
Replacing a sink P-trap is an essential task for maintaining your home’s plumbing system.
This guide offers a thorough step-by-step approach to help you accomplish this task with ease.
Step 1: Prepare the Area
Before beginning, make sure your workspace is clean and organized.
Place a bucket or pan beneath the sink to catch any residual water, ensuring you avoid spills during the replacement process.
Step 2: Remove the Old P-Trap
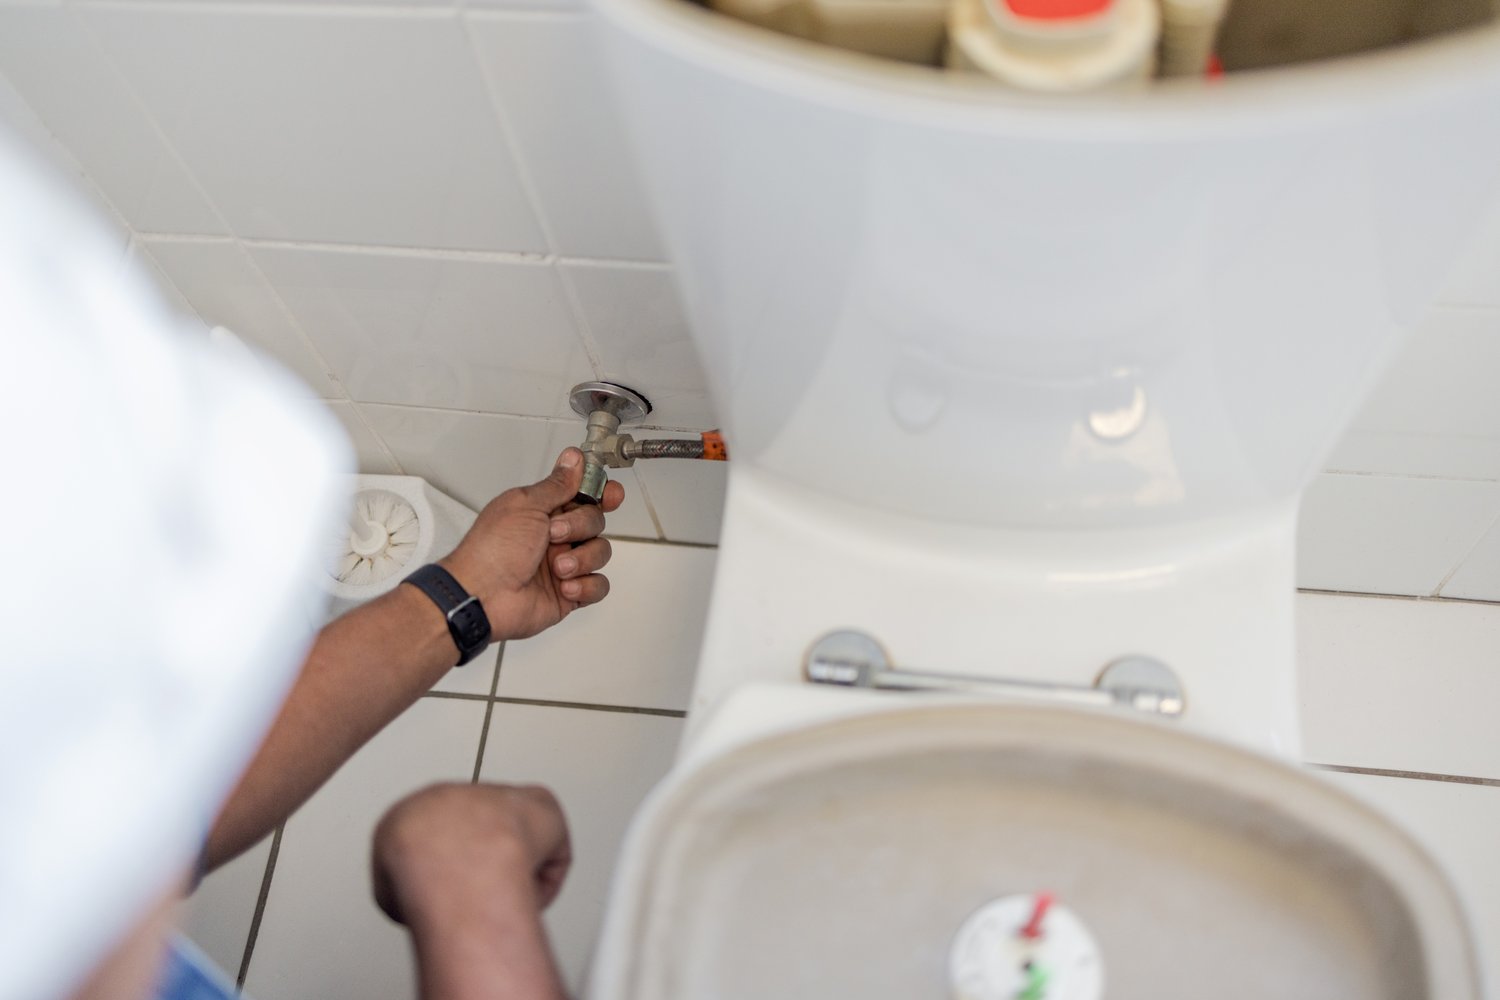
Using an adjustable wrench, loosen the slip nuts on the old P-trap.
Carefully disconnect the trap from the sink and drainpipe.
Remove it gently, allowing any remaining water to flow into the bucket.
Step 3: Clean the Connection Points
Before installing the new P-trap, clean the connection points on the sink and drainpipe.
Ensure they are free from debris and old plumber’s putty, which will help create a tight, leak-free seal.
Step 4: Install the New P-Trap
Position the new P-trap in place, connecting it to the sink’s tailpiece and the drainpipe.
Carefully tighten the slip nuts by hand until they are snug, then use your wrench for an additional quarter-turn.
Avoid over-tightening, as this can cause leaks.
Step 5: Test for Leaks
Turn on the faucet and let the water run.
Observe the connections closely for any signs of leakage.
If leaks are detected, gently tighten the slip nuts further until a complete seal is achieved.
Common Challenges in Replacing Sink P-Traps and How to Overcome Them
While replacing a sink P-trap is generally straightforward, you may encounter certain challenges during the process.
Understanding these common issues and having practical solutions at hand can help you complete the task successfully.
Challenge 1: Stubborn Fittings
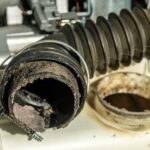
Over time, fittings can become corroded or rusted, making them difficult to loosen.
If you encounter stuck fittings, apply penetrating oil to the affected area.
Let it sit for a few minutes before trying again.
This should help ease the removal process.
Challenge 2: Leaks After Installation
Leaks are a common issue, often resulting from improperly tightened connections.
To address this, revisit each slip nut and ensure they are snug.
If the leak persists, consider using plumber’s tape for an extra layer of sealing security.
Challenge 3: Incompatible P-Trap Sizes
When fitting a new P-trap, it can sometimes be mismatched with your existing plumbing size.
It’s crucial to measure both the trap and the existing pipes prior to purchase to prevent later complications.
With these solutions, you are well-equipped to handle the challenges that may arise during the P-trap replacement process.
Addressing these issues promptly will guarantee a smooth and efficient plumbing system in your home.
Maintenance Tips After Replacing Sink P-Traps
Proper maintenance of your newly installed sink P-trap is crucial for ensuring its longevity and optimal performance. By following these maintenance tips, you can prevent clogs and leaks, and maintain efficient plumbing operations in your home.
Routine Checks and Inspections
Regularly inspect your P-trap for signs of wear or leaks. Check the connections to ensure they are tight and secure. Early identification of issues can help you address potential problems before they escalate. Look for any unusual odors or slow drainage which might indicate an issue with your P-trap setup.
Keeping Your P-Trap Clean
To maintain a clean P-trap and prevent unpleasant odors or blockages, periodically remove any accumulated debris. Use a mild cleaning solution to wash away residues that may build up over time. Ensure you rinse thoroughly after cleaning to keep your plumbing in top shape.
Preventive Measures
Utilize strainers on your sink to prevent hair, food particles, or other debris from entering the drain, thereby minimizing frequent clogs. Additionally, avoid disposing of grease or oil down the drain as they can congeal in your P-trap, leading to obstructions.
By integrating these maintenance practices into your regular home upkeep routine, you can considerably extend the life of your sink P-trap and ensure it works efficiently. If you have other tips or experiences with maintaining sink P-traps, feel free to share your insights and join the ongoing discussion on plumbing best practices.
Frequently Asked Questions About Replacing Sink P-Traps
What is the P-trap and why is it important?
The P-trap is a plumbing fixture that prevents sewer gases from entering your home and captures debris that could clog your drain.
How do I know if my P-trap needs replacing?
Signs include persistent odors, leaks, or if the P-trap is visibly corroded or damaged.
What tools are needed to replace a P-trap?
You’ll need an adjustable wrench, pliers, a bucket, and replacement P-trap parts.
Can I replace a sink P-trap on my own?
Yes, with basic tools and guidance, replacing a P-trap is a manageable DIY task.
How long does it take to replace a P-trap?
Typically, it takes about 30 minutes to an hour depending on your experience and the complexity of the setup.
What should I do if there’s a leak after replacing the P-trap?
Check that all connections are tight and ensure the gaskets are properly seated to stop any leaks.
How often should I check my P-trap?
Perform routine checks every six months to ensure the P-trap functions well and to clean any buildup.