When it comes to home wiring systems, the unsung hero ensuring your electrical setup runs smoothly is the junction box. Vital for both safety and organization, understanding these essential components can save you from potential electrical mishaps and enhance your DIY skills.
- Understanding Electrical Junction Box Basics: Unpack the critical role these boxes play in maintaining a safe and organized electrical system.
- Materials and Tools Required for Electrical Junction Box Installation: Discover the key components and tools needed for installation, from the box itself to wires and connectors.
- Installation Guidelines for Electrical Junction Box Basics: Follow a clear, step-by-step guide to ensure a safe and effective installation process.
Dive into this article to gain a clear understanding of how electrical junction boxes function, learn the essentials of installing them correctly, and embrace safe practices for your home electrical projects. Empower yourself with knowledge that bridges the gap between simple curiosity and practical expertise.
Understanding Electrical Junction Box Basics
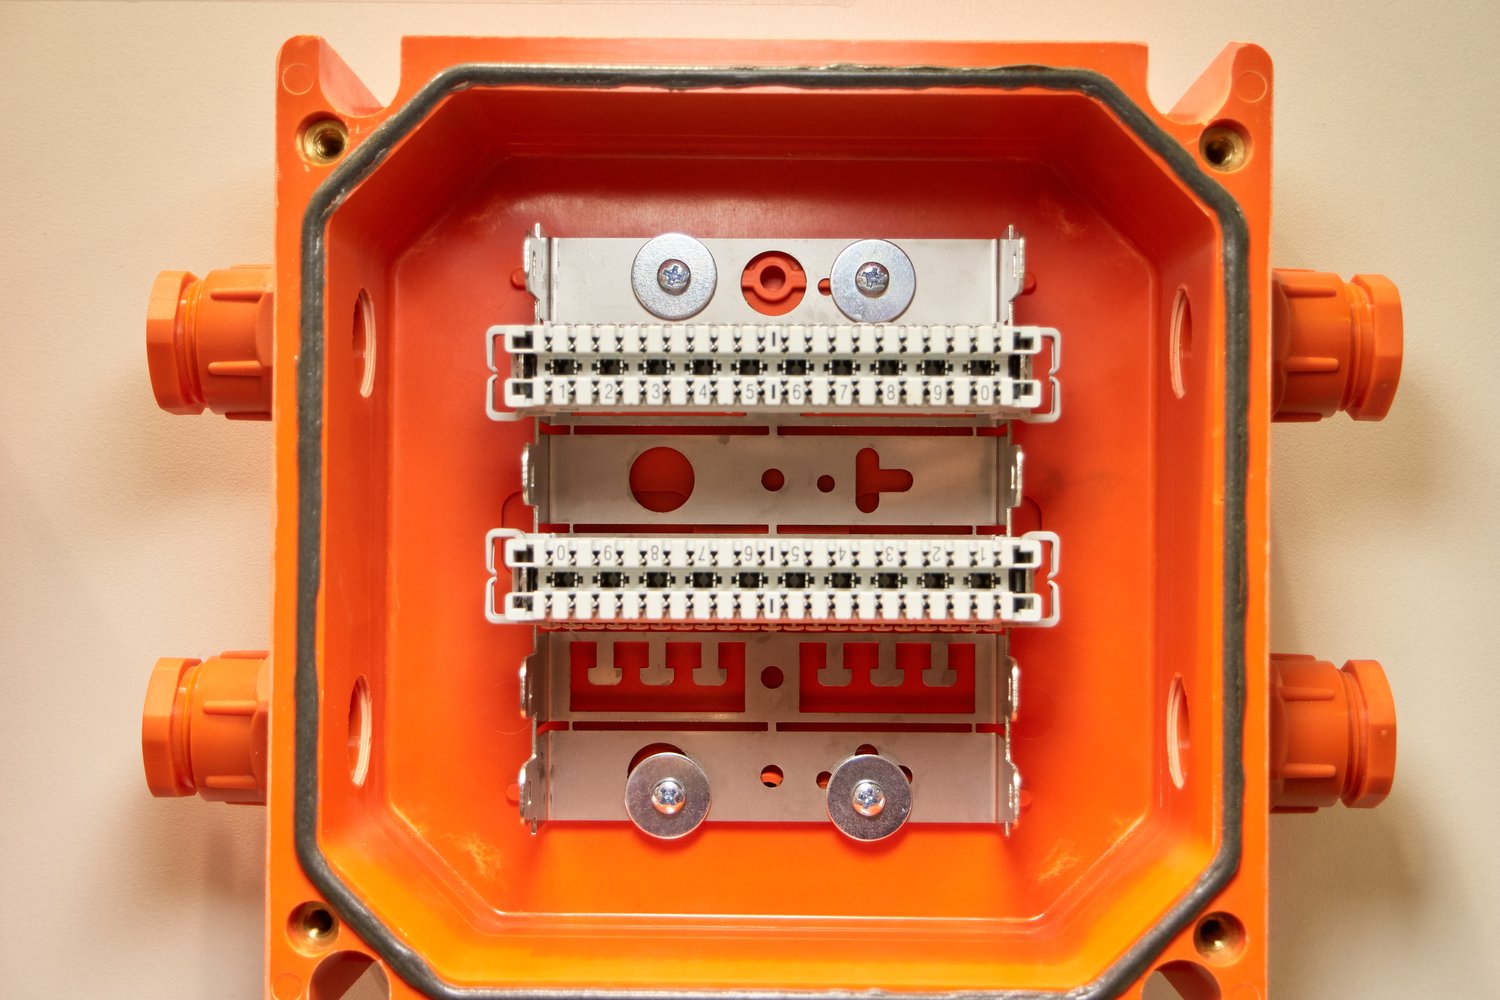
Electrical junction boxes are an essential component of any home wiring system, playing a vital role in ensuring the safety and organization of electrical networks. They serve as protective enclosures that house electrical connections and help prevent accidental electrical fires and shock hazards. By containing all the wiring in one compact box, they reduce the risk of short circuits and electrical malfunctions.
There are several types of junction boxes available, each designed to meet specific needs. Common variants include non-metallic boxes, which are lightweight and corrosion-resistant, and metal boxes, which offer robust durability for challenging environments. It’s important to select the appropriate type of junction box for your specific electrical installation to ensure compatibility and compliance with local electrical codes.
Properly installed junction boxes contribute to the overall organization of electrical systems, making it easier to access and maintain connections during repairs or upgrades. This organized setup enhances the efficiency of troubleshooting and testing processes, ensuring that your home remains safe and operational.
Materials and Tools Required for Electrical Junction Box Installation
To successfully install an electrical junction box, it’s essential to gather the necessary materials and tools beforehand. Key materials include the junction box itself, appropriate for your project, alongside compatible connectors and wire nuts. These components help ensure stable and secure electrical connections.
Wires are another crucial material, often required in various gauges depending on the specific electrical load and application. Selecting the right wire size and type is vital for effective power distribution and minimizing potential hazards.
Essential tools for installation include wire strippers, which are necessary for preparing wires to be connected within the junction box, and screwdrivers, which are used for attaching the box to a surface or fixture. Additionally, cable cutters and voltage testers are useful for ensuring precise cutting and safety verification during the installation process.
Having these materials and tools at hand facilitates a smooth installation process, enhancing both the safety and functionality of your electrical system.
Installation Guidelines for Electrical Junction Box Basics
Installing an electrical junction box is a fundamental step in any home electrical system. Ensuring it is done correctly is crucial for maintaining safety and efficiency. This guide provides detailed instructions to help you install an electrical junction box with confidence.
Before beginning, ensure you have all necessary tools and materials at hand. This includes a suitable electrical junction box, wire strippers, pliers, a screwdriver, and appropriate wires and connectors.
Step 1: Plan Your Layout
Start by determining the optimal location for your electrical junction box. It should be accessible for future maintenance or modifications yet positioned in a place where it protects wires from potential damage. Always comply with local electrical codes to ensure safety and legality. Check for any existing pipes or wires in the area to avoid interference.
Step 2: Turn Off the Power
Safety first: always turn off the power at the circuit breaker before starting any electrical work. Confirm that the power is off by using a voltage tester on nearby outlets or wires.
Step 3: Install the Electrical Junction Box
Secure the junction box to a sturdy surface, such as a wall stud or beam, using the appropriate screws. Make sure the box is level and firmly attached. This will form the foundation of your electrical system, so it must be stable to avoid any displacement or damage.
Step 4: Prepare the Wires
Use wire strippers to remove insulation from the ends of each wire, exposing about half an inch of conductive wire. Carefully feed each wire through the openings in the junction box, making sure not to damage the insulation on the rest of the wire.
Step 5: Connect the Wires
Match the exposed ends of the wires with their corresponding counterparts (e.g., black to black, white to white) and twist them together using pliers. Secure the connection by fastening a wire connector onto the twisted ends, ensuring a firm grip.
Step 6: Secure and Close the Box
Arrange the wires neatly inside the box to avoid any stress or strain. Once everything is organized, secure the junction box cover and tighten the screws to close. This protects the connections from environmental elements and accidental contact.
As you carry out these steps, constantly review your work to ensure that each connection is tight and properly insulated. Remember, patience and precision are key to a safe installation.
By following these installation guidelines, you can ensure that your electrical junction box is set up to function safely and efficiently, contributing to the overall reliability of your home electrical system.
Frequently Asked Questions About Electrical Junction Boxes
What is an electrical junction box?
An electrical junction box is a protective enclosure used to house electrical connections, safeguarding them from external elements and preventing accidental contact.
Why are electrical junction boxes important?
They ensure safety by enclosing electrical connections, preventing short circuits, and helping to organize wiring systems effectively.
What tools do I need to install an electrical junction box?
You’ll need a screwdriver, drill, wire cutters, and appropriate wiring connectors.
Can I install an electrical junction box myself?
Yes, with the right tools and knowledge of safety measures. However, if unsure, consult a professional.
What are the different types of junction boxes?
- Plastic boxes for indoor use.
- Metallic boxes for external or industrial settings.
How do I maintain an electrical junction box?
Regularly inspect for damage or wear, ensure all connections are secure, and avoid any moisture buildup inside the box.