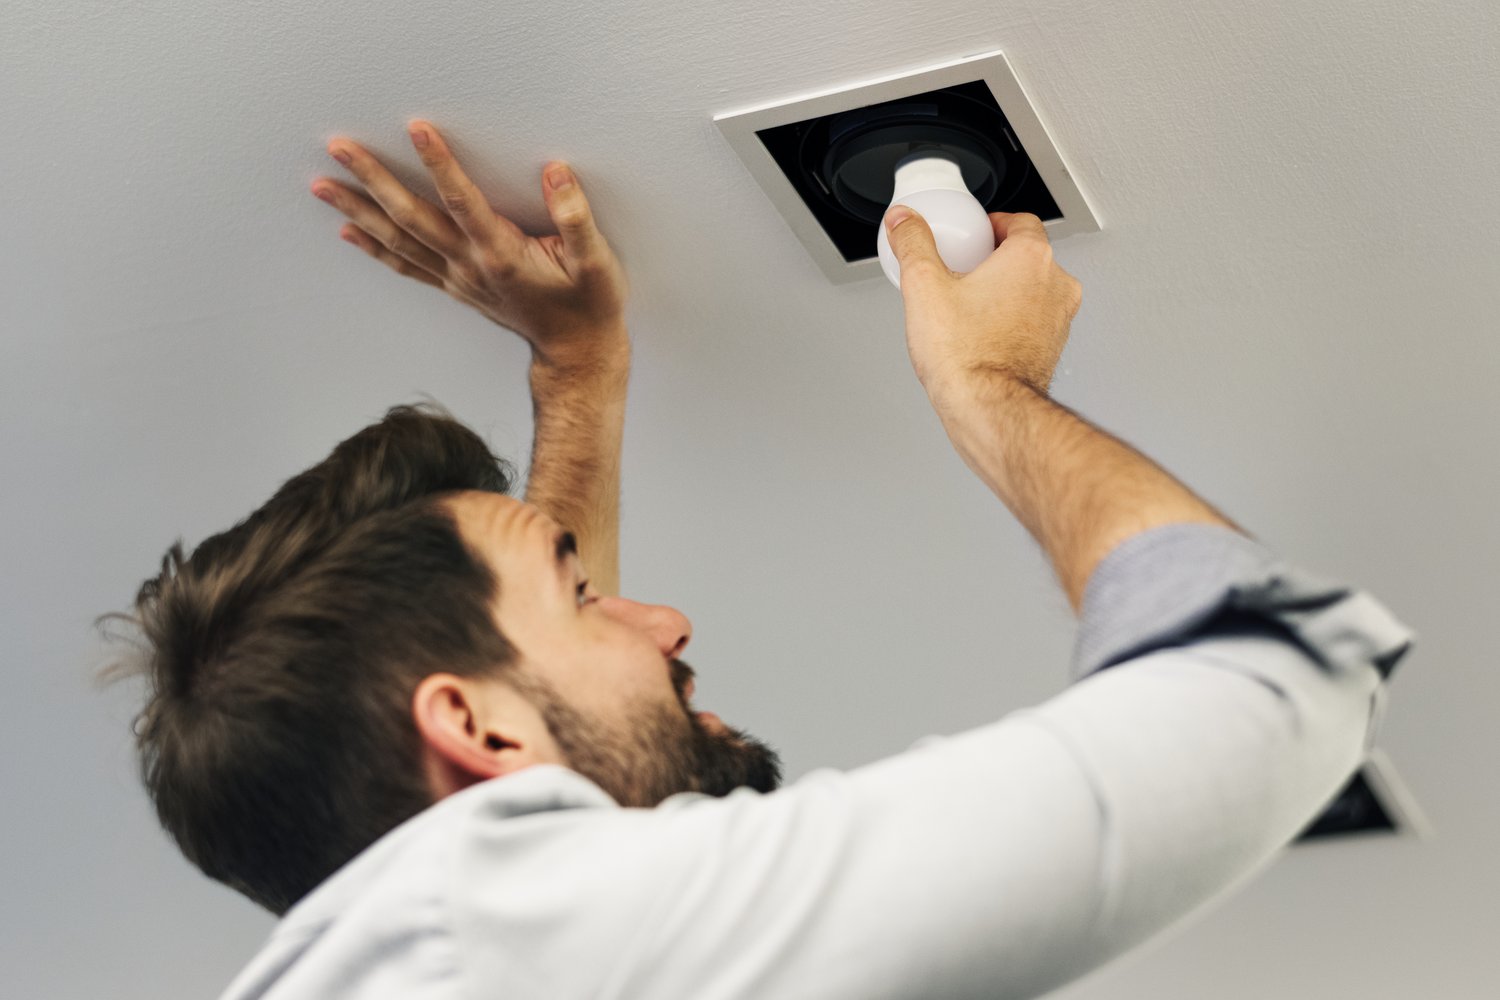
Transform your home’s comfort and air quality by mastering the art of exhaust fan installation. With the right fan, you can effectively eliminate unwanted moisture and odors, creating a healthier living environment. Whether you’re a DIY enthusiast or new to home improvement, these expert insights will guide you through the process, making the task straightforward and rewarding.
- Learn how to select the perfect exhaust fan by evaluating essential factors including size, noise level, and ventilation capacity.
- Discover the tools you’ll need and the pre-installation checks that ensure a smooth and compatible setup.
- Follow a detailed, step-by-step guide that covers wiring and securing the fan, ensuring efficient operation and longevity.
By the end of this guide, you’ll be equipped with the knowledge and confidence to improve your home’s air quality and enjoy a more comfortable living space. Get ready to tackle this home improvement project and perhaps share your insights with others seeking similar solutions!
Choosing the Right Exhaust Fan for Your Needs: Key Exhaust Fan Installation Tips
When selecting the perfect exhaust fan for your home, it’s essential to consider several crucial factors. Size is one of the primary aspects to evaluate. Ensure the fan can adequately handle the area it will serve. The size of the room typically dictates the capacity of the exhaust fan you need.
Noise level is another important factor. High noise levels can be distracting and may discourage frequent use. Look for models with low sone ratings for quieter operation.
Additionally, ventilation capacity is key to effective performance. A fan with the appropriate cubic feet per minute (CFM) rating will ensure efficient removal of moisture, odors, and pollutants. A higher CFM is generally recommended for larger spaces or areas with significant moisture, like bathrooms and kitchens.
By carefully considering these aspects—size, noise level, and ventilation capacity—you can choose an exhaust fan that will provide optimal performance and enhance indoor air quality.
Preparing the Installation Area: Tools and Pre-checks
Before embarking on the installation of your exhaust fan, it’s crucial to prepare the installation area thoroughly. First, gather all necessary tools to streamline the process. Common tools include a screwdriver, pliers, a drill, a utility knife, and electrical tape.
Inspecting the installation site is equally vital. Examine the area for any obstacles that could interfere with the installation, such as wiring, plumbing, or structural beams. Ensuring there is a suitable power source nearby is also important.
The next step is to verify compatibility with existing systems. Check that the electrical and ductwork systems can support the new exhaust fan. If replacing an old unit, make sure the new fan’s specifications match or exceed those of the existing system.
By taking these preparatory steps, you ensure a smoother and more efficient installation process, leading to a successful integration of your new exhaust fan.
Step-by-step Guide to Exhaust Fan Installation Tips
Installing an exhaust fan is essential for maintaining a healthy home environment. This step-by-step guide will walk you through the process, ensuring you achieve a safe and effective installation.
Begin by reading the manufacturer’s instructions thoroughly. Familiarize yourself with the model-specific guidelines, which will help you understand the necessary steps for your particular exhaust fan.
1. Select the Installation Location: Choose a location that provides optimal ventilation. It’s crucial to install the exhaust fan in an area where moisture or odors are most prevalent, such as bathrooms or kitchens.
2. Prepare the Opening: Measure the fan’s size to mark the ceiling or wall. Use a saw to cut an appropriately sized hole. Ensure the opening is slightly larger than the fan to accommodate its installation brackets.
3. Install the Fan Housing: Position the fan housing in the prepared opening. Secure it using screws or brackets according to the manufacturer’s instructions. Align the housing to ensure it is flush with the ceiling or wall surface.
4. Connect the Vent Duct: Attach a vent duct to the fan, leading to an exterior exit point. It’s important to ensure this duct is as short as possible to improve airflow and energy efficiency.
5. Wiring the Exhaust Fan: Turn off power at the circuit breaker before handling any wiring. Connect the electrical wires according to the color codes indicated in the manual: generally black to black, white to white, and green or bare copper for grounding.
6. Attach the Fan Cover: Once wiring is complete, secure the fan cover over the housing. This may involve snapping it into place or using screws provided by the manufacturer.
7. Test the Exhaust Fan: After installation, turn the power back on and test the exhaust fan to ensure proper operation. Confirm that airflow is directed outside and that the fan operates quietly.
By following these step-by-step instructions, you can ensure a successful exhaust fan installation. Properly installing an exhaust fan not only enhances air quality but also prevents humidity damage and improves your home’s overall comfort.
Remember, safety is paramount during installation. If at any point you feel uncertain, consider consulting a professional electrician for assistance.
Frequently Asked Questions: Exhaust Fan Installation
What size exhaust fan do I need?
Answer: Calculate the cubic feet of the room and choose a fan with the appropriate CFM rating—generally 1 CFM per square foot of space.
How do I check compatibility with existing ventilation systems?
Answer: Ensure that the exhaust fan can connect to existing ductwork and verify the electrical supply meets the fan’s requirements.
What tools do I need for installation?
Answer: Basic tools include a screwdriver, wire stripper, power drill, and measuring tape.
How loud will my exhaust fan be?
Answer: Check the sones rating; lower ratings indicate quieter operation. Fans with < 1.5 sones are considered quiet.
Can I install the exhaust fan myself?
Answer: Yes, with a step-by-step guide, but ensure you have basic electrical knowledge for wiring.
How do I maintain my exhaust fan?
Answer: Regularly clean the grill and fan blades to prevent dust build-up and ensure efficient airflow.


