Breathing clean air at home isn’t just a luxury—it’s a necessity. When was the last time you considered the state of your HVAC ductwork? Whether you’re a seasoned pro or just diving into home maintenance, understanding how to keep these vital channels free from dust and debris can vastly improve your indoor air quality and energy efficiency.
- Delve into the core aspects of HVAC ductwork, grasping the importance of tackling accumulated pollutants through regular cleaning.
- Arm yourself with knowledge about the essential tools and preparations needed for a seamless duct cleaning experience.
- Navigate through a hands-on, step-by-step guide designed to transform the way you maintain your HVAC system.
Tackling the cleanliness of your HVAC system might seem daunting, but this guide simplifies every step to empower you with the knowledge to foster a healthier living environment. Explore these expert-approved strategies and consider when to call in the professionals for areas beyond a DIY approach.
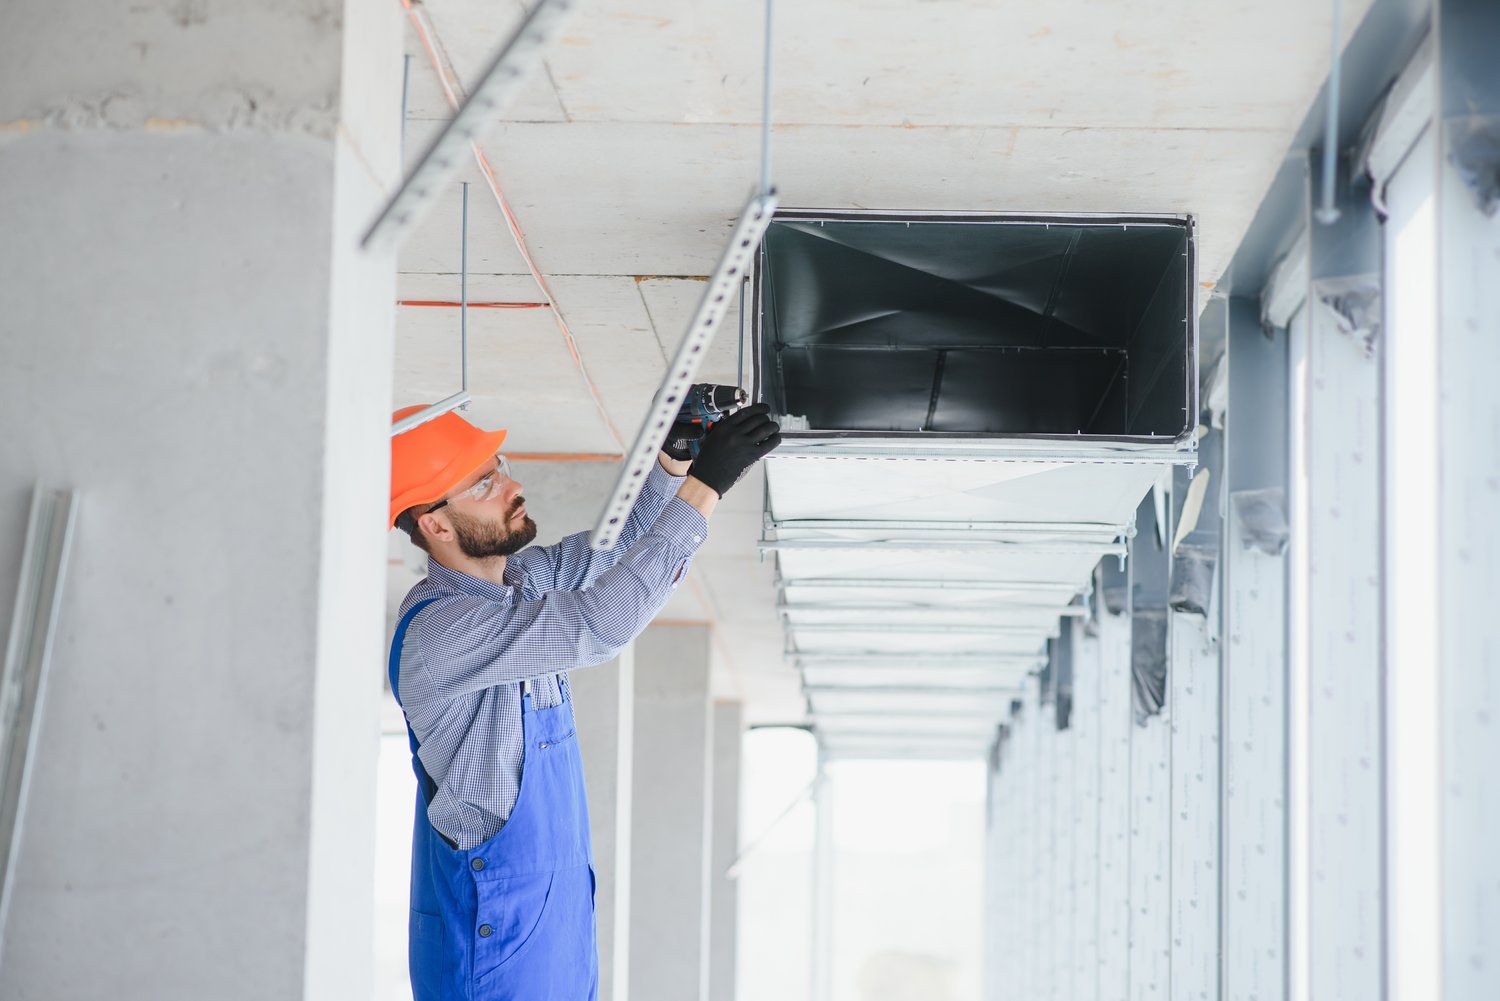
Understanding the Basics of How to Clean HVAC Ductwork
When it comes to maintaining your home’s air quality, understanding how to clean HVAC ductwork is essential. The ductwork is a crucial component of your heating, ventilation, and air conditioning system. It allows for the efficient distribution of air throughout your home. However, over time, it can accumulate dust, pollen, pet dander, and even mold. This buildup not only affects indoor air quality but also reduces system efficiency.
Regular maintenance of your HVAC ductwork ensures that the system operates smoothly and provides numerous benefits. It improves energy efficiency, which can lower your utility bills, and enhances the overall air quality, contributing to a healthier living environment. Understanding the basic elements of your system, such as air ducts, filters, and vents, will help you identify when it’s time for cleaning.
Essential Tools and Preparations for Cleaning
Before beginning any duct cleaning project, it’s important to gather the essential tools and make the necessary preparations to ensure a thorough job. First, invest in protective gear such as gloves and a dust mask to safeguard against potential irritants. You will also need basic tools like a vacuum with a HEPA filter, a brush with soft bristles, and a screwdriver for accessing duct components.
Proper preparation is key for effective cleaning. Begin by switching off the HVAC system to prevent dust circulation. Have a flashlight handy for inspecting the interior of the ducts, as this will help in identifying areas that require extra attention. By assembling these tools and following preparation techniques, you can safely and efficiently clean your HVAC ductwork, enhancing both system performance and indoor air quality.
Step-by-Step Guide on How to Clean HVAC Ductwork
Cleaning HVAC ductwork is crucial for ensuring the air quality in your home. Follow this comprehensive guide to effectively remove dust and debris, optimizing your system’s efficiency.
Step 1: Initial Inspection
Begin by inspecting your HVAC system. Look for visible dust buildup, mold growth, or signs of pest infestation inside the ducts. An inspection helps identify any specific areas needing attention.
Step 2: Gather Protective Gear
Before starting, equip yourself with protective gear. Wear a dust mask, safety goggles, and gloves to protect against allergens and irritants. Ensure you have a flashlight handy to illuminate dark duct spaces.
Step 3: Turn Off the HVAC System
Ensure your HVAC system is turned off at the circuit breaker. This prevents dust from being blown out during cleaning and ensures your safety. Notify other household members of your cleaning activity to avoid accidental activation.
Step 4: Remove and Clean Registers
Carefully remove the air duct registers or grills using a screwdriver. Once removed, wash these parts in warm soapy water to eliminate trapped dust. Allow them to dry completely before reinserting.
Step 5: Vacuum Dust and Debris
Use a vacuum cleaner with a long hose attachment to suck up loose dust inside the air ducts. A vacuum with a HEPA filter is ideal, as it captures fine particles. Work your way through each vent, being thorough but gentle to avoid damaging duct components.
Step 6: Brush and Clean the Ducts
Utilize a long-handled brush to scrub the walls of the ductwork. Carefully insert the brush into the duct, moving it back and forth to dislodge stubborn dirt. For extra effectiveness, moisten the brush slightly, but avoid soaking which can promote mold growth.
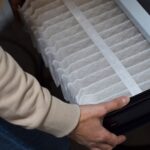
Step 7: Replace Furnace Filter
After cleaning, replace the furnace filter with a new, high-quality one. This step is essential as a new filter prevents contaminants from recirculating in your home. Consider using a filter rated MERV 8 or higher for better filtration.
Expert Tip: For best results, schedule duct cleaning for early spring or fall. Regular cleaning, ideally every three to five years or as needed, enhances indoor air quality and ensures efficient HVAC operation.
By following this step-by-step guide, you’ll improve the air circulating in your home and significantly boost your HVAC system’s performance.
Frequently Asked Questions about Cleaning HVAC Ductwork
How often should I clean my HVAC ductwork?
It’s recommended to clean your HVAC ductwork every 3-5 years, but frequency can vary based on factors like pets, allergies, and local climate.
Can I clean HVAC ducts myself?
Yes, with the right tools and safety precautions, DIY cleaning is possible. However, for complex systems, consider hiring a professional.
What tools are needed to clean HVAC ductwork?
- Vacuum cleaner with a HEPA filter
- Brushes
- Drill-operated brushes
- Screwdriver set
- Protective gear
What are the benefits of cleaning HVAC ductwork?
Clean ducts improve air quality, reduce allergens, enhance system efficiency, and extend the lifespan of your HVAC system.
How can I tell if my ducts need cleaning?
Signs include visible dust buildup, increased allergies, inconsistent airflow, and unusual odors.