Imagine stepping into your shower, ready to start the day, only to find water pooling in all the wrong places. A leaky shower pan isn’t just an annoying inconvenience; it can lead to significant water damage and costly repairs if not addressed promptly. By recognizing the signs of a leak early and understanding how to fix it, you can save both time and money while ensuring your bathroom remains a sanctuary, not a source of stress.
- Diagnosing the Problem: Understand the common signs of a leaky shower pan, such as water stains, dampness, and unexpected mold growth.
- Repairing the Leak: Follow step-by-step instructions that guide you through the repair process, from preparation to executing effective solutions.
- Selecting Materials: Learn about the best tools and materials to ensure durability and efficacy in your shower pan repair.
By diving into this article, you will gain the knowledge needed to tackle a leaky shower pan head-on, ensuring your repair lasts and prevents further issues. Whether you are an experienced home improvement enthusiast or a beginner taking on your first project, this guide will empower you to reclaim your bathroom’s integrity. Share your insights and experiences in the comments to contribute to a community of efficient problem-solvers!
Diagnosing the Problem: Identifying Signs of a Leaky Shower Pan
Understanding the initial signs of a leaky shower pan is crucial for preventing extensive water damage. The first step in leaky shower pan repair is knowing what to look for.
Inspect your shower area carefully, as common indications of a leak include water stains on ceilings or walls adjacent to the shower. You might also notice dampness under the shower area, which can lead to structural concerns if left unchecked.
Be vigilant for mold growth, as persistent moisture creates an ideal environment for mold and mildew. These signs not only point to a leaking shower pan but also indicate potential health hazards.
Another sign is water pooling outside the shower area, revealing an ineffective water barrier.
Spotting these symptoms early allows for timely intervention, reducing repair complexities and costs. Regular inspection can aid in sustainable home maintenance and prevent recurrence of leaks.
Repairing a Leaky Shower Pan: Step-by-Step Solutions
Addressing a leaky shower pan requires a methodical approach, ensuring your shower pan is effectively sealed and leak-free.
Begin by preparing the area. Remove any old sealant and thoroughly clean the shower pan to ensure a smooth bonding surface for new materials.
Identify the source of the leak. Inspect seams, corners, and the drain, which are frequent culprits. Apply a waterproof sealant to affected areas to provide an immediate fix for minor leaks.
For more extensive damage, consider replacing the shower pan liner. Carefully measure and cut a new liner, ensuring it fits snugly and covers the entire base.
Utilize quality waterproof adhesives and follow manufacturer’s instructions precisely for best results.
After addressing the leak, test the repair by running water to ensure no further leaks are present. This not only guarantees a durable repair but also safeguards against additional issues.
These step-by-step solutions will help you achieve a long-lasting repair, enhancing the longevity of your shower area and preventing further complications.
Choosing the Right Materials for Shower Pan Repair
When addressing a leaky shower pan, selecting the right materials is crucial for a successful repair. This ensures long-lasting results and prevents future water damage.
Begin by considering waterproofing solutions. High-quality liquid membranes, shower pan liners, and sealants are essential components to ensure your shower remains leak-free. Opt for products specifically designed for wet areas, as these offer the best resistance against moisture.
In addition, invest in robust repair kits that often include pre-measured materials, eliminating guesswork. These kits can come with epoxy or other strong bonding agents, ideal for sealing cracks and ensuring a watertight finish.
Browse through tile and grout options that are both durable and match your bathroom’s aesthetic. Look for tiles that are resistant to water and wear, such as porcelain or ceramic tiles, which stand up well over time.
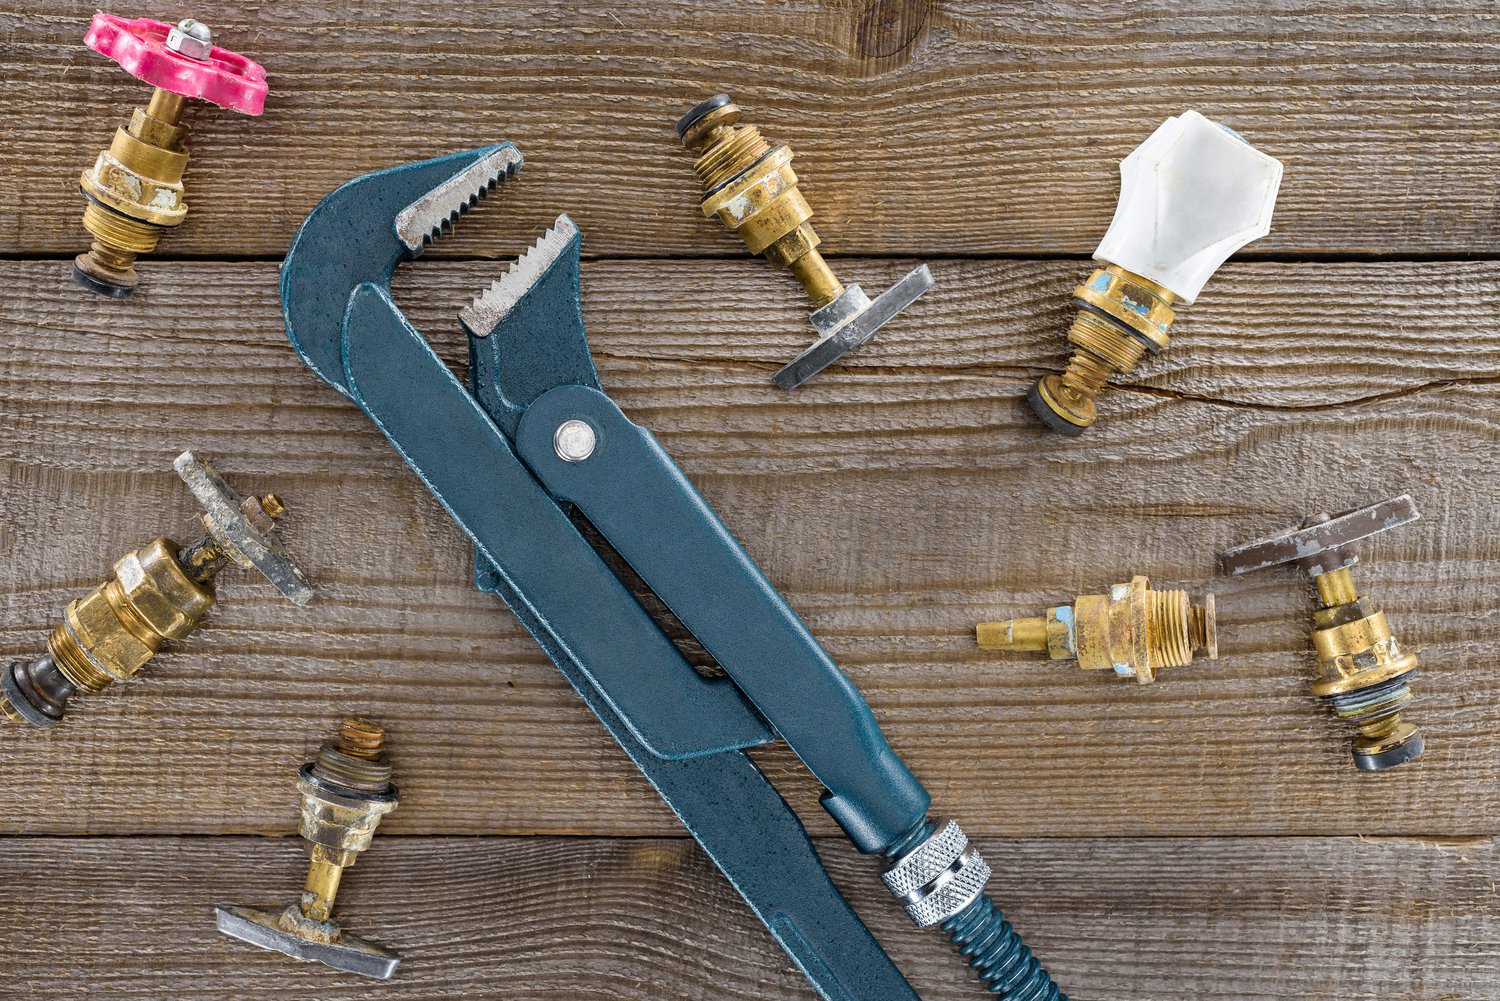
Don’t overlook the importance of choosing the right tools for the repair. Quality tools not only make the process easier but also improve the overall outcome. Consider items like trowels for spreading mortar and sealant applicators for precision work.
Overall, understanding your shower’s material requirements and selecting durable, waterproof products ensures effective repair of a leaky shower pan. By investing in the right tools and materials, you significantly extend the lifespan of your shower space.
For more personalized advice, research popular brands and read reviews to determine what other homeowners recommend. Engaging with knowledgeable store associates can also provide valuable insights into finding high-quality repair materials.
Frequently Asked Questions About Repairing a Leaky Shower Pan
What are the most common signs of a leaky shower pan?
Common signs include water stains, persistent dampness, and mold growth around the shower area.
How do I begin diagnosing a shower pan leak?
Start by visually inspecting the shower area for leaks and check for wet floors or wall discoloration.
What materials do I need to repair a leaky shower pan?
You will need quality sealants, waterproof membranes, and appropriate repair tools.
Is it necessary to remove tiles to fix a leaky shower pan?
Not always. It depends on the severity of the leak and damage.
How long does it take to repair a leaky shower pan?
Depending on the damage, it typically takes a few hours to a couple of days.
Can I prevent future leaks after repairing my shower pan?
Yes, by using quality materials and performing regular inspections.


