Imagine a sudden gush of water flooding your laundry room—an occurrence that could have been easily prevented by a timely check and replacement of your washing machine hoses. The simplicity of this maintenance task belies its importance; ensuring the longevity of your appliance and the safety of your home is a practical step anyone can take. In this guide, we’ll delve into why keeping your washing machine’s hoses in top condition is crucial, and how you can do it yourself with minimal effort.
- Worn-out washing machine hoses pose risks of water damage and reduced efficiency.
- Equipping yourself with the correct tools and materials can ensure a smooth and efficient replacement process.
- Step-by-step instructions will guide you through safe and effective hose removal and installation.
By following the insights and techniques shared in this article, you’ll not only protect your home from potential water hazards but also enhance the performance of your washing machine. Satisfy your curiosity and equip yourself with actionable steps to tackle this DIY project with confidence.
Why Replacing Washing Machine Hoses Matters
Washing machine hoses are the unsung heroes of the laundry room, often overlooked until a problem arises. However, these essential components play a critical role in maintaining the safety and efficiency of your appliance. Over time, washing machine hoses can wear out, leading to leaks or even bursts that can result in significant water damage to your home.
The humidity and vibrations common in laundry areas accelerate the degradation of hose materials, amplifying the risk of failure. Regular replacement of washing machine hoses not only reduces the risks of water damage but also improves the overall efficiency of the appliance.
Efficient hoses ensure proper water flow and pressure, allowing your washing machine to operate more effectively. By prioritizing this simple maintenance task, you safeguard your home from potential disasters and enhance the longevity of your valuable appliance.
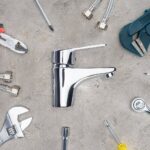
Tools and Materials Needed for Successful Hose Replacement
To seamlessly replace washing machine hoses, having the right tools and materials on hand is essential. Preparing these in advance will enable you to complete the task efficiently, transforming what might seem a daunting task into a straightforward process.
Begin by gathering the following tools: an adjustable wrench to loosen and tighten hose fittings, and a pair of pliers for additional grip and precision. It’s also advisable to have a bucket or large towel nearby to catch any residual water from the hoses during removal.
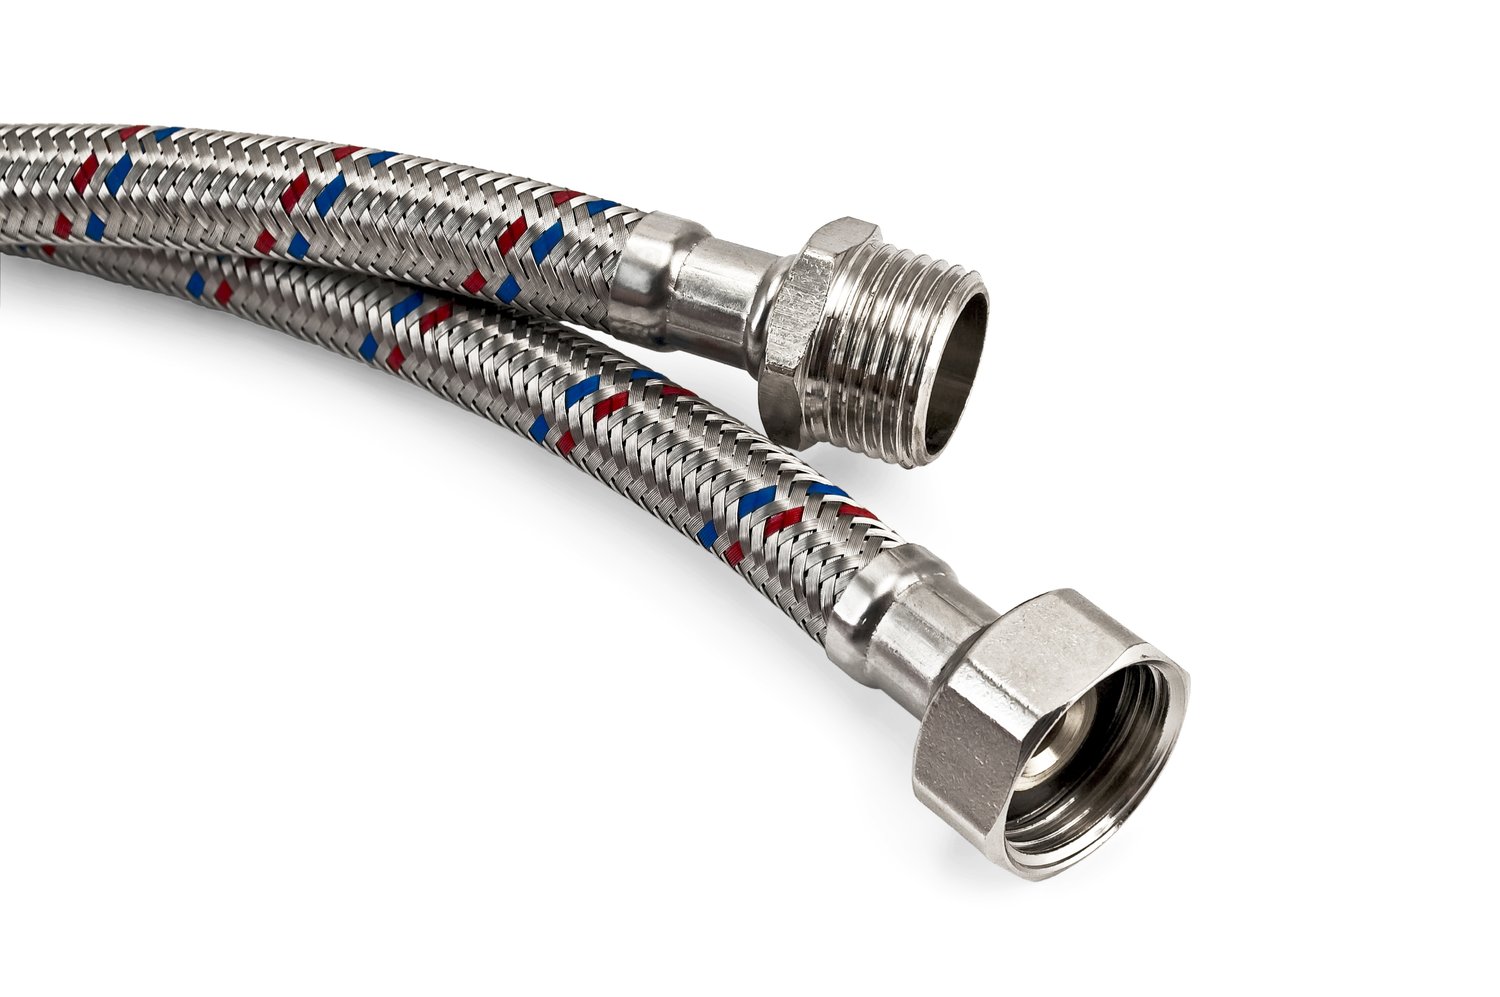
In terms of materials, ensure you have replacement hoses that are specifically designed for use with washing machines. Consider opting for braided stainless steel hoses, known for their durability and reliability. Make sure to check the length and diameter of the hoses to ensure compatibility with your machine.
Lastly, keep some thread-seal tape handy, as it aids in providing a secure, leak-proof connection between the hose and the appliance. Equipped with these tools and materials, you’re ready to undertake the task with confidence and precision.
Step-by-Step Guide to Replacing Washing Machine Hoses
Replacing washing machine hoses is an essential maintenance task that can prevent potential water damage and prolong the life of your appliance. Follow this step-by-step guide to ensure a smooth and efficient process.
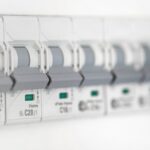
Preparation: Before getting started, turn off the water supply to your washing machine to avoid leaks and ensure safety. Unplug the appliance from the electrical outlet to eliminate any risk of electric shock. Gather your tools and materials, including a bucket to catch any residual water in the hoses.
Removing Old Hoses: Position your bucket below the hose connections to your washing machine. Carefully unscrew the hoses from both the machine and the water supply taps, using pliers if necessary. Allow any trapped water to drain into the bucket. Inspect the connection points for signs of debris or corrosion and clean them if needed.
Installing New Hoses: Align the new hose with the water supply tap and tighten it by hand. Follow up with a wrench to ensure a secure fit, taking care not to overtighten. Repeat the process for the connection on the washing machine. Double-check that all connections are firm to prevent leaks.
Final Checks: Once securely connected, turn on the water supply to the washing machine and check for any sign of leaks at the joints. Plug the machine back into the electrical outlet. Run a test cycle to verify that the hose replacement was successful and that the appliance functions efficiently.
By adhering to this step-by-step guide, you can confidently replace washing machine hoses and enhance the safety and efficiency of your laundry system. Do you have any personal tips or experiences regarding this process? Feel free to share and help others in the community.
Frequently Asked Questions about Replacing Washing Machine Hoses
How often should washing machine hoses be replaced?
Every 3 to 5 years is recommended to prevent leaks and ensure safety.
What types of hoses are best for replacement?
Choose stainless steel braided hoses for durability and burst resistance.
Can I use regular tools for replacing hoses?
A pair of pliers or an adjustable wrench is typically sufficient.
Is it necessary to turn off the water supply before replacing hoses?
Yes, always turn off the water supply to avoid flooding.
What should I do if I find damage on the connections?
Replace any damaged fittings immediately to ensure a secure connection.